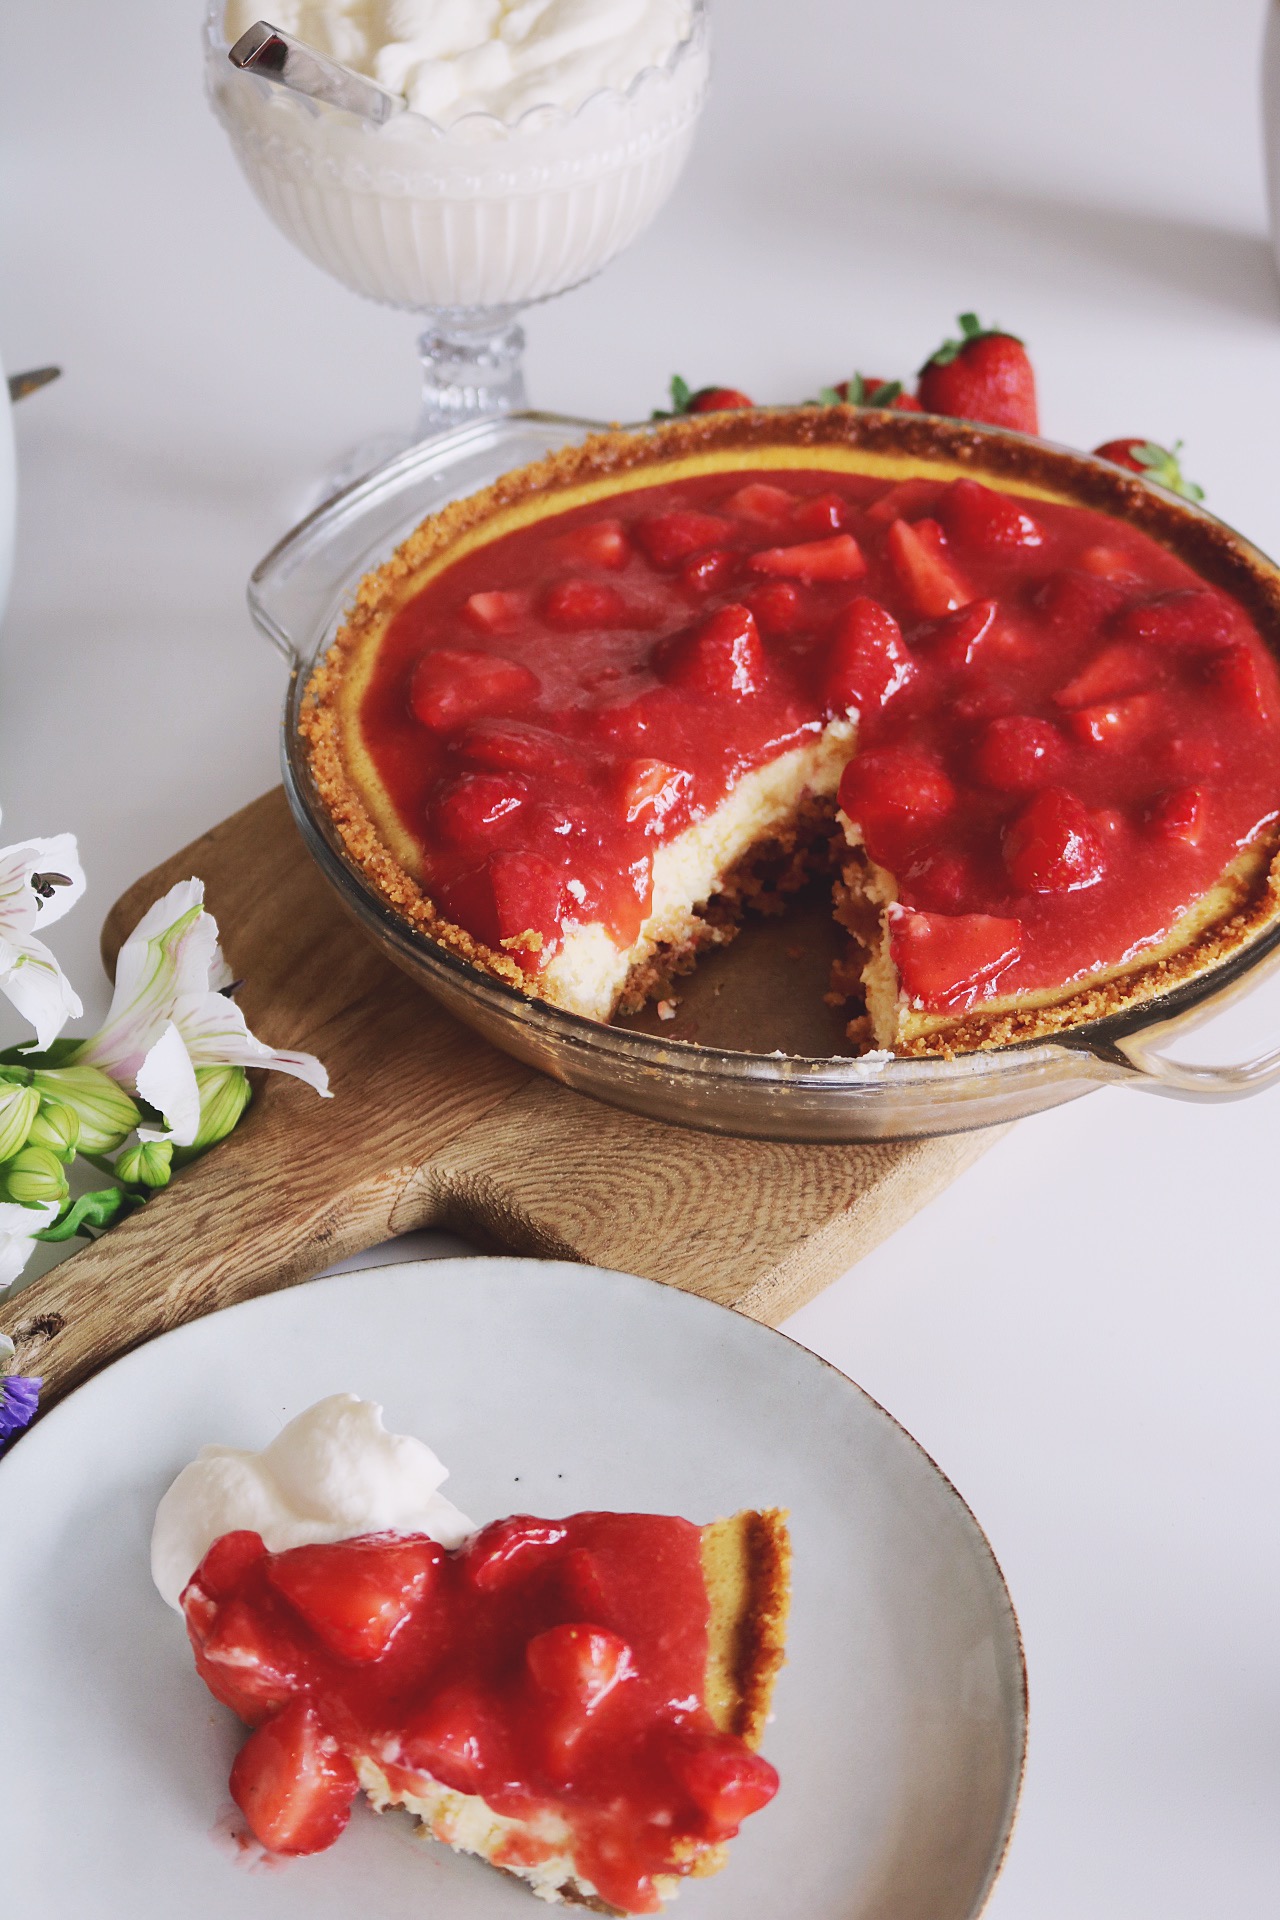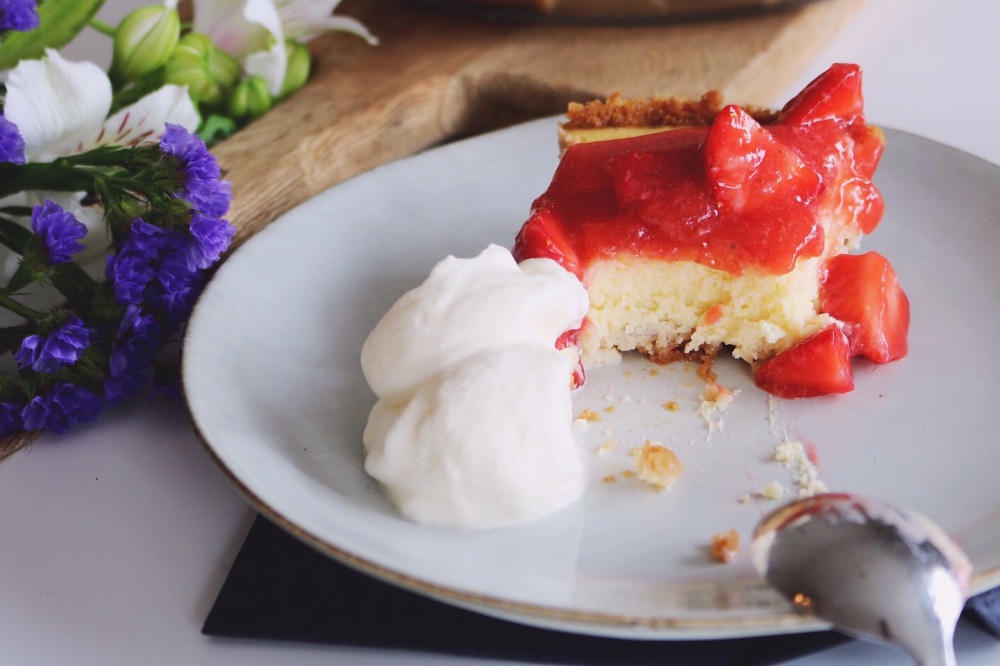
A perfect summer cake, vanilla cheesecake with a delicious strawberry glaze on top! You can easily prepare the cake one day a head and just take it out from the fridge in time for serving. I did my cheesecake the day before and the strawberry glaze the day after, doesn’t really matter. The glaze should be a bit loose so it gets extra juicy.
YOU NEED:
8-10 port.
Crust:
10 vanilla biscuits or Digestive, about 3 dl crumbs
2 tbsp sugar
50 gram butter, melted
Vanilla Cheesecake:
400 gram cream cheese, room temperature
2 eggs, room temperature
1 egg yolk, room temperature
2 1/2 dl sugar
2 dl sour cream
1 tsp vanilla extract
Strawberry glaze:
900 gram strawberries, cut into bigger pieces
1 dl water
1 1/2 tbsp cornflour
0.7 dl sugar
A pinch of salt
1 gelatin leave, soaked in water for 3 min
2 tbsp lemon juice
DO THIS:
Crust:
- Mix the biscuits into crumbs. Combine all of the ingredients in a bowl and then press evenly onto the bottom and up the sides of a pie pan (23 cm).
- Bake at 170 C for 10 minutes or until crust just begins to brown. Cool completely.
Vanilla cheesecake:
- Preheat oven to 170 C. Beat cream cheese until smooth, about 1 minute. Beat in sugar followed by eggs then egg yolk, one at a time until combined. Beat in sour cream and vanilla. Pour filling over cooled crust.
- Place the pie pan in a larger pan and add hot water until it reaches half way up the sides of the pie pan. Bake for 45 minutes. The cheesecake should still jiggle in the center (it will get firm after chilling).
- After 45 minutes, turn oven off and open the oven door a bit and let it cool in the oven for 30 minutes.
- Remove cheesecake from oven and water and let cool completely and then chill in refrigerator for at least 4 hours, recommend over night.
Strawberry glaze:
- Add about 3 dl roughly chopped strawberries and water to a blender and puree until smooth.
- Add puree to a saucepan and add cornstarch, sugar and salt. Cook over medium heat, stirring constantly until it starts to thicken up.
- Turn off the heat and stir in the gelatin leave and lemon juice. Let cool to room temperature.
- Add the rest of the strawberries to the cooled strawberry glaze and stir until evenly coated. Cover and refrigerate until ready to serve.
- When ready to serve, spoon the glaze over the cheesecake, serve with some whipped cream if you like. :)
ENJOY!!!!
x Jen
INSTAGRAM:
@JENNIFERBERGP & @JENSDELISIOUSLIFE
For all my recipes, visit https://jensdeliciouslife.com/
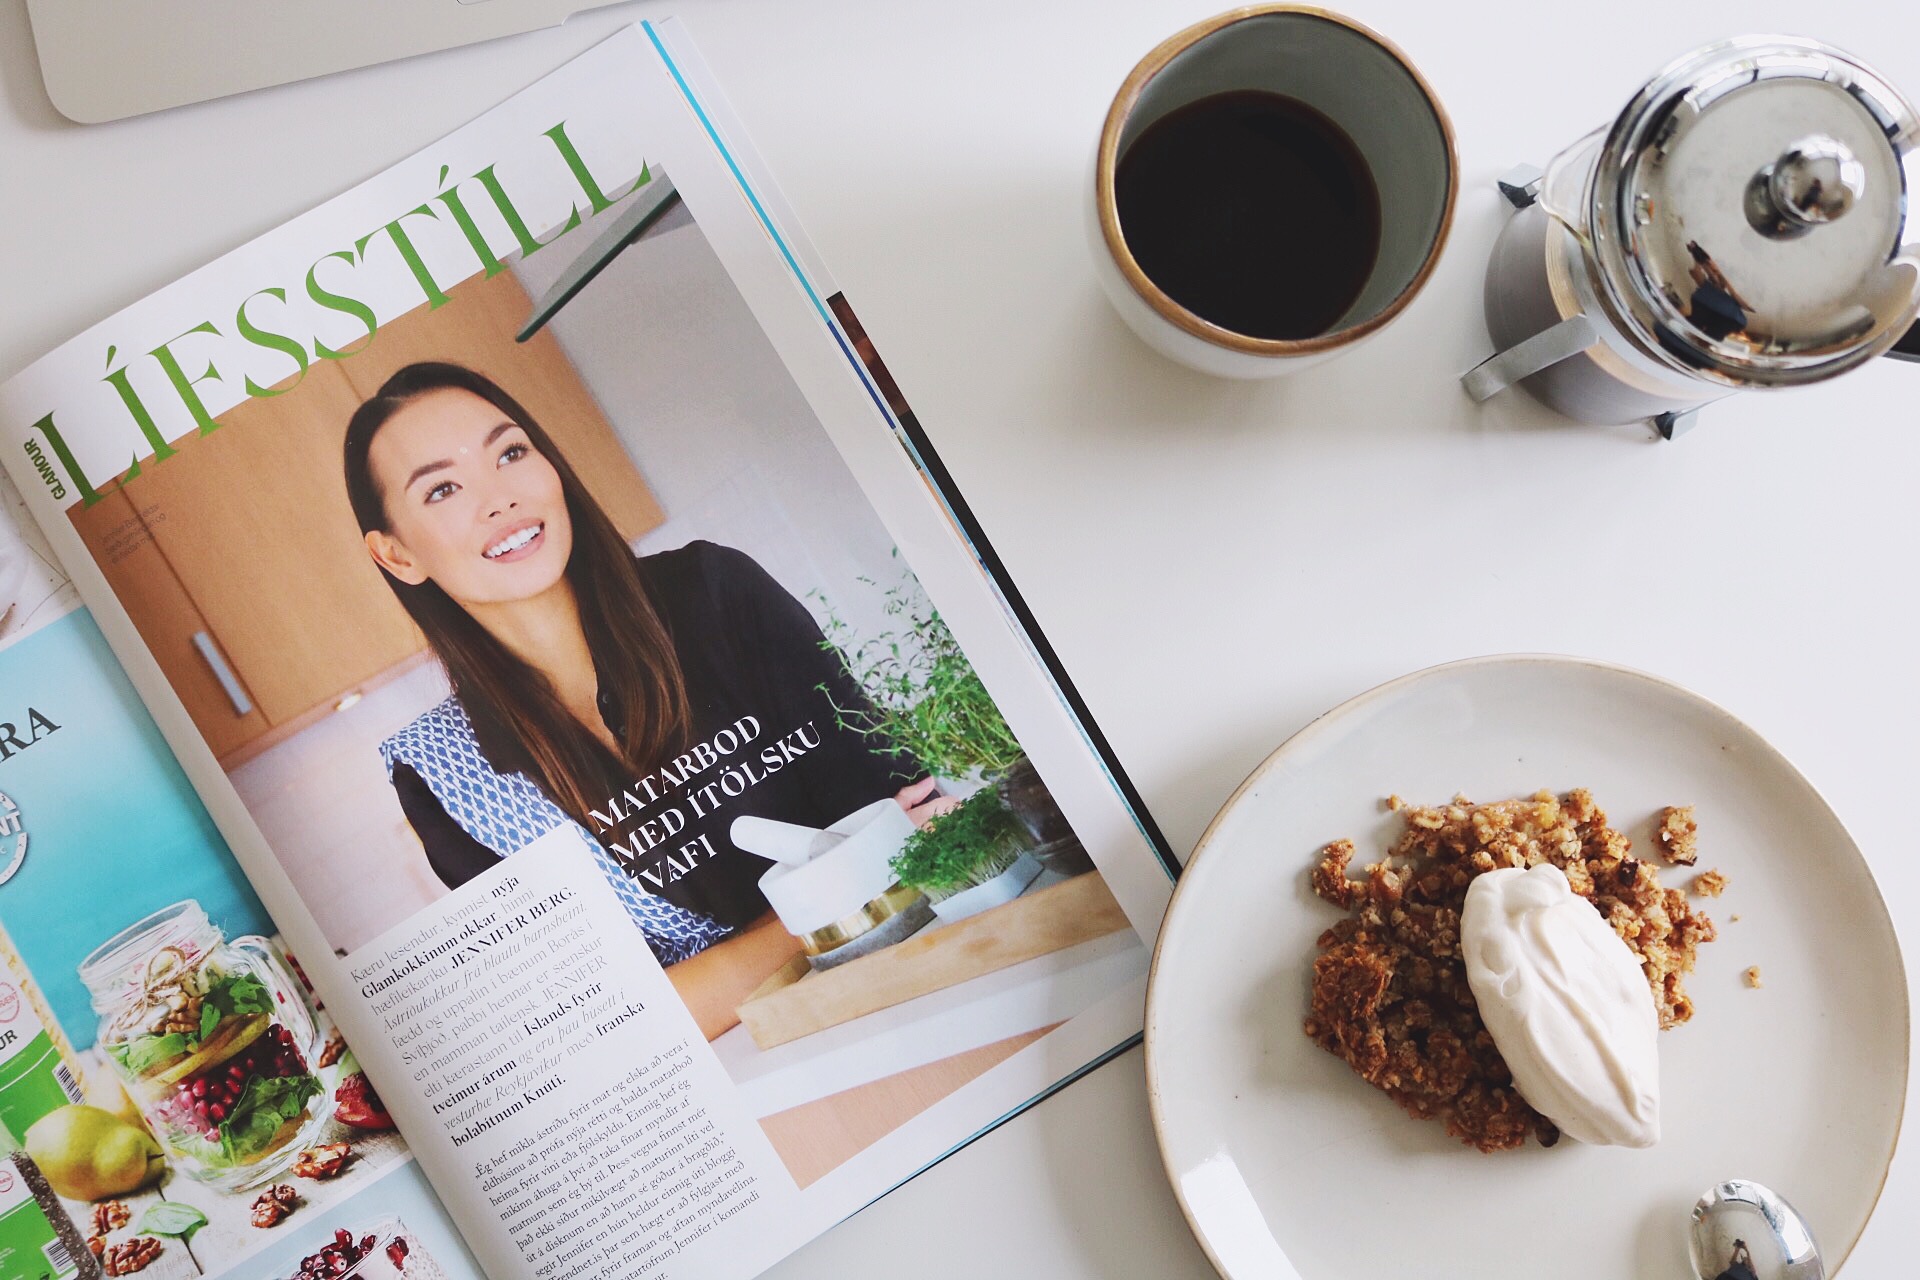
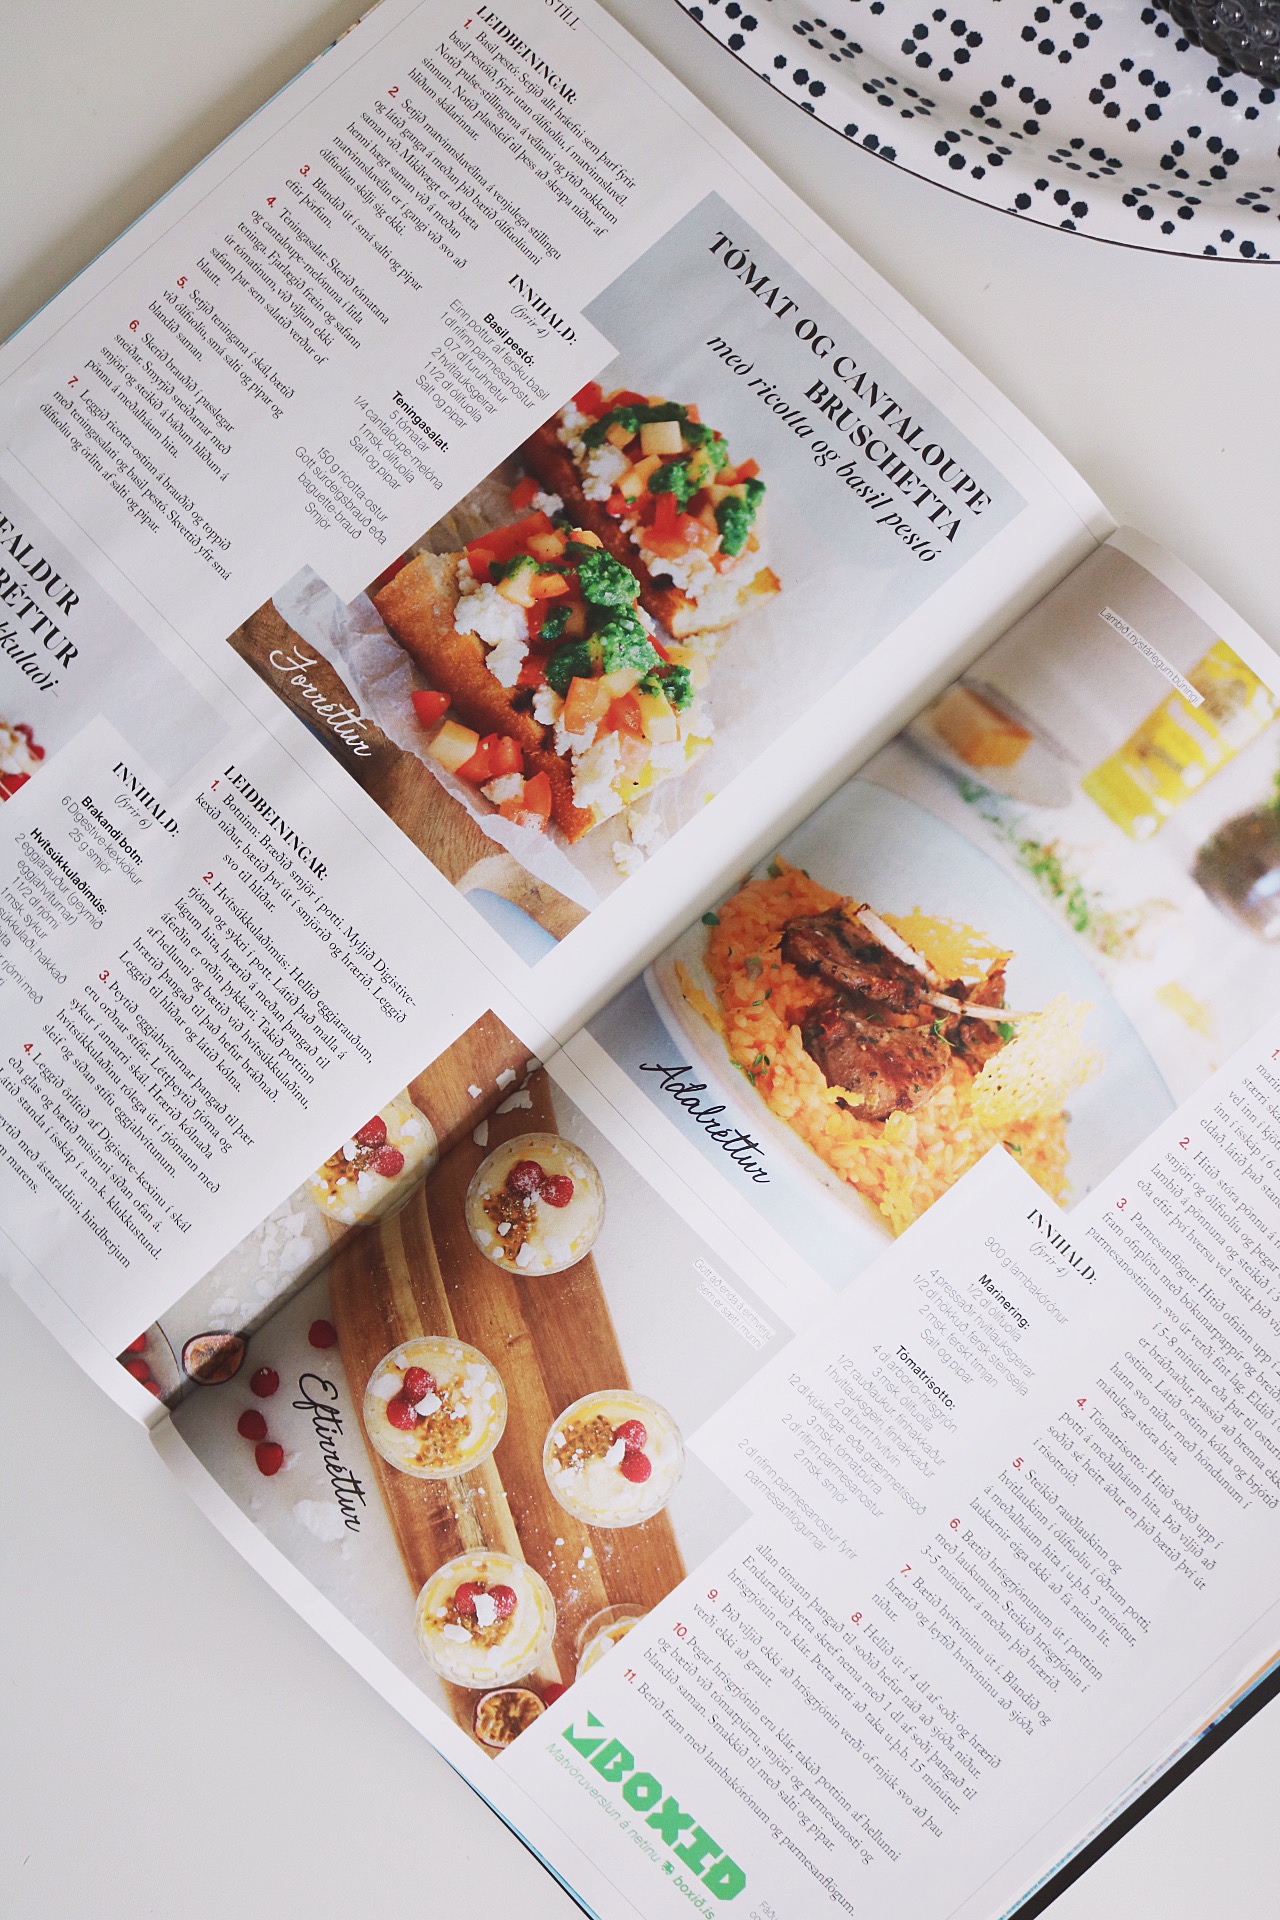
I’m so grateful to be a part of Glamour Iceland, to be cooking for the magazine and share my recipes with you. It’s always been a dream to work with food and this is a step towards my goals. My first issue was in May where I shared a delicious bruschetta with tomato and Cantaloupe, a tomato risotto with lamb chops and parmesan crisp and a super easy dessert with white chocolate mousse. You can find the recipes in Icelandic here: Glamour Iceland and visit my food site for english and more recipes: Jensdeliciouslife.com .
The June issue is out and I’ve shared three new awesome and easy recipes, see last picture for a sneak peak. You need to check it out, you will love them. <3
Ps. My pie next to the magazines is one of my new favorites, healthy rhubarb crumble pie with coconut whip, so good!!


x Jen
INSTAGRAM:
@JENNIFERBERGP & @JENSDELISIOUSLIFE
For all my recipes, visit https://jensdeliciouslife.com/
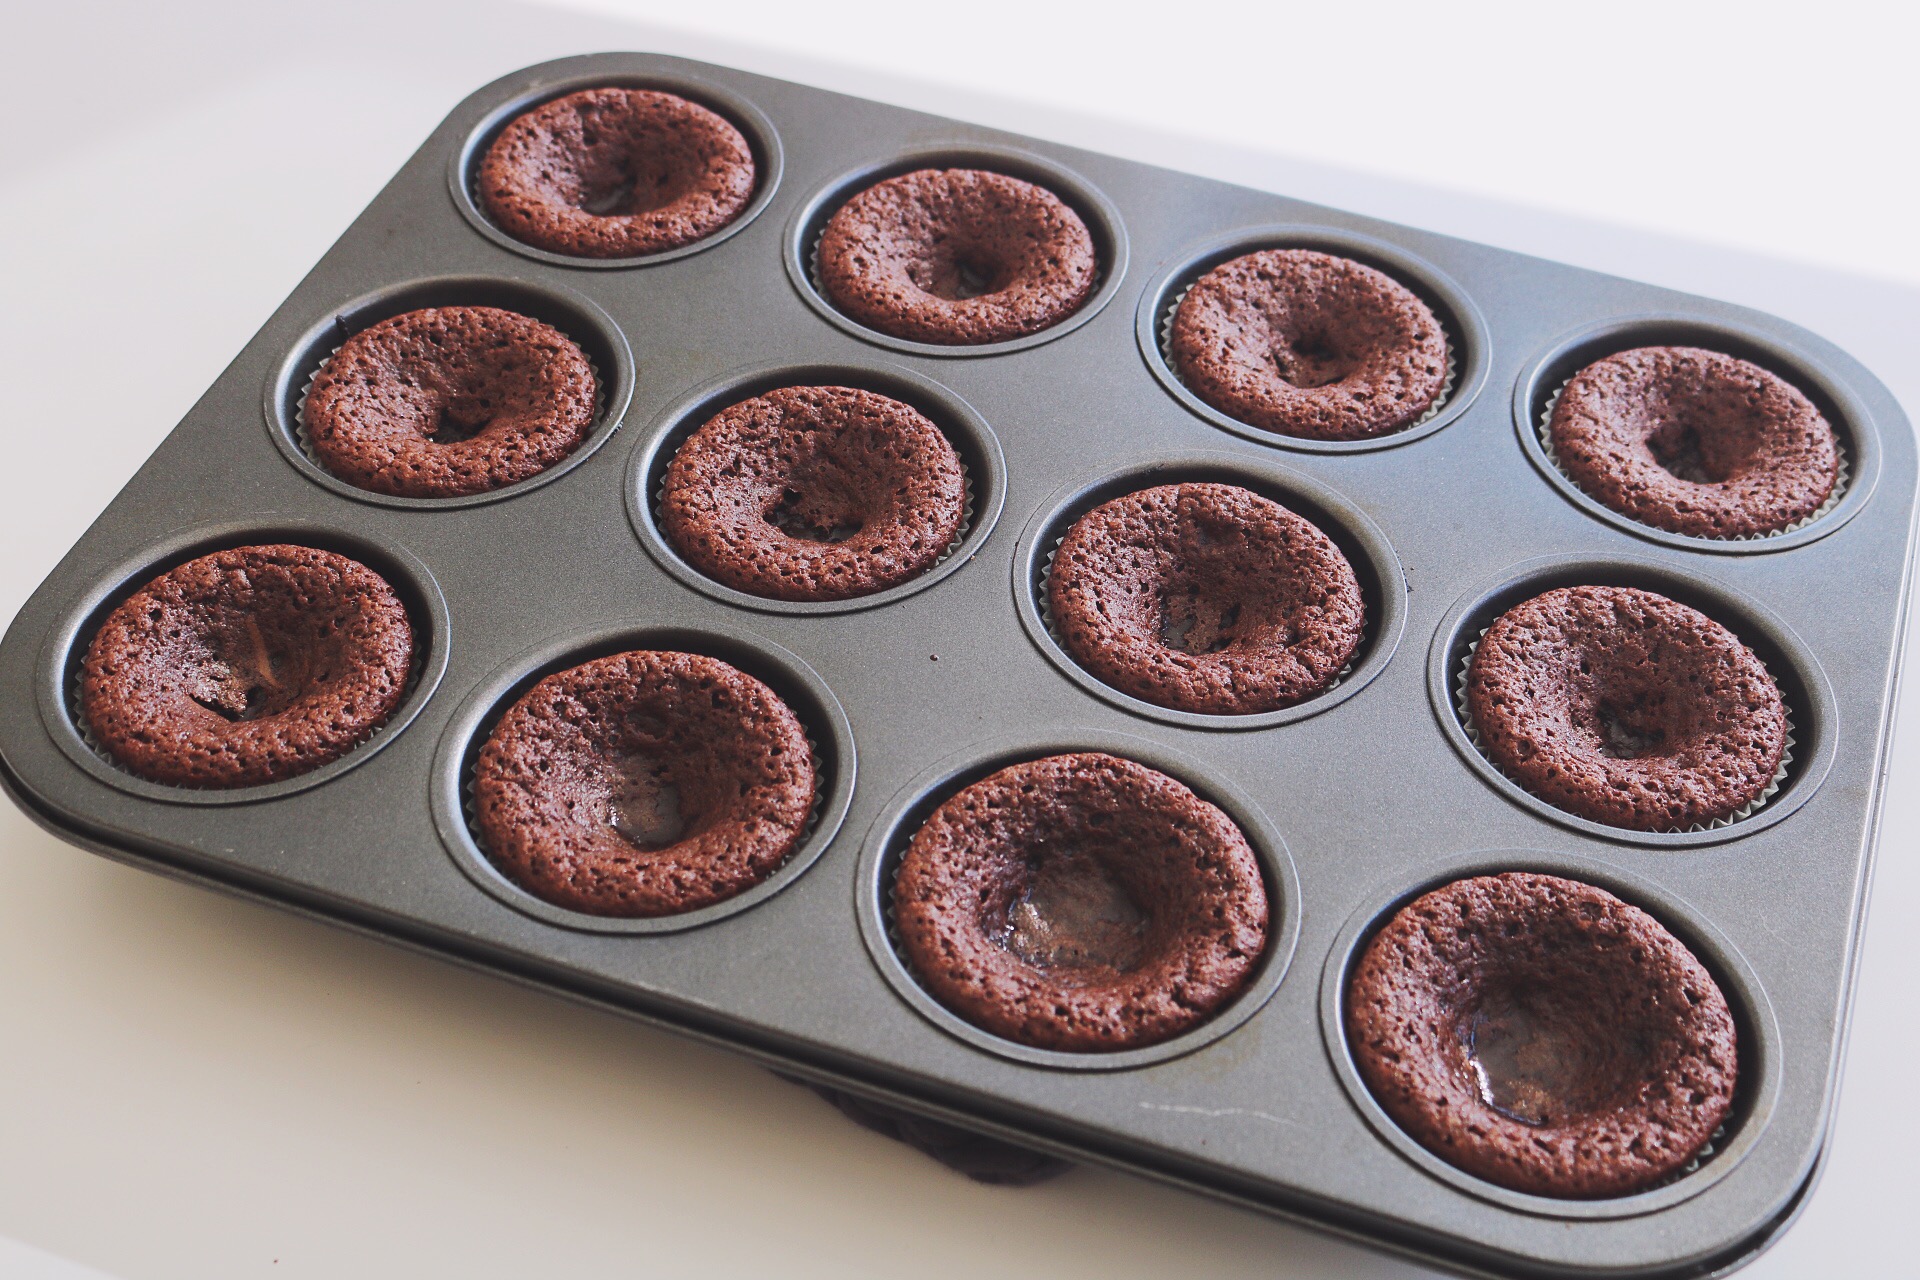
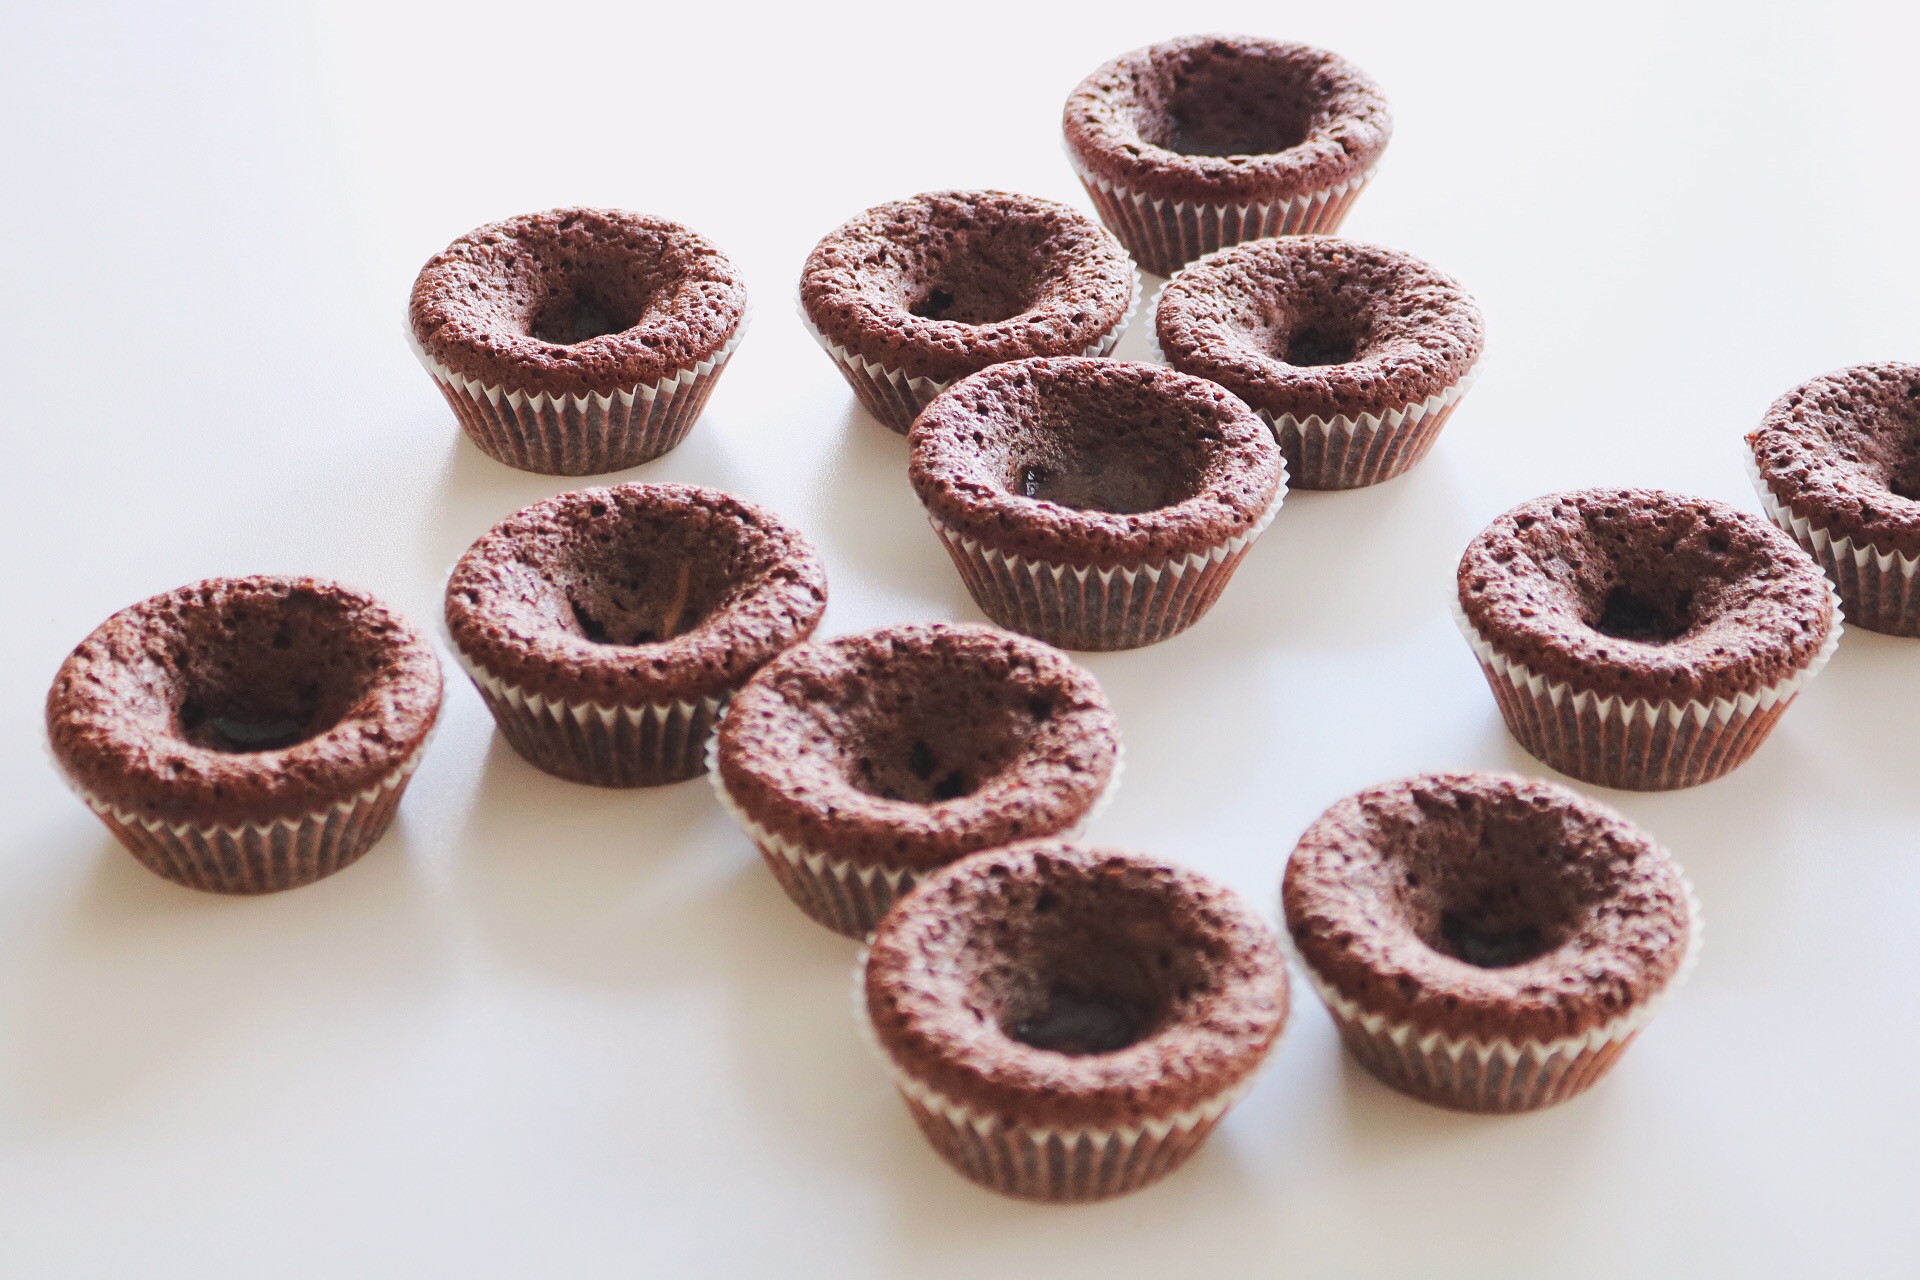
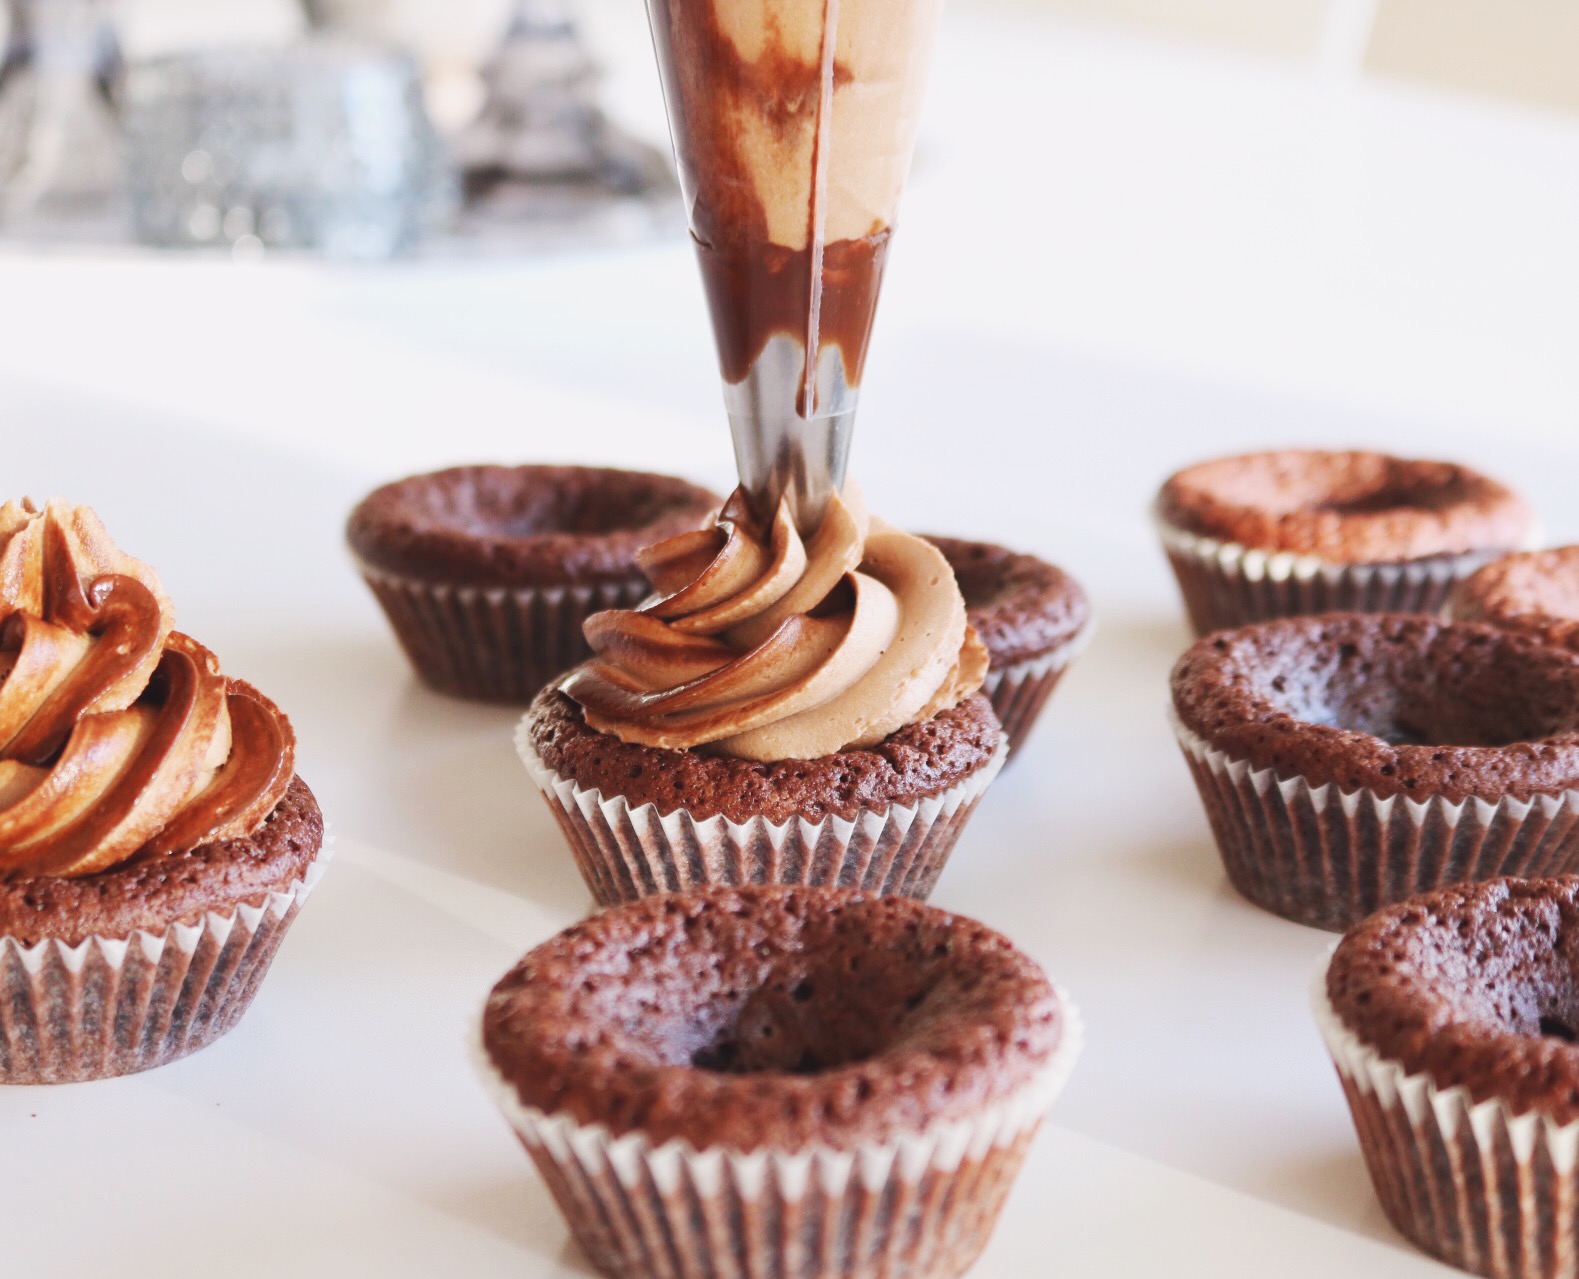
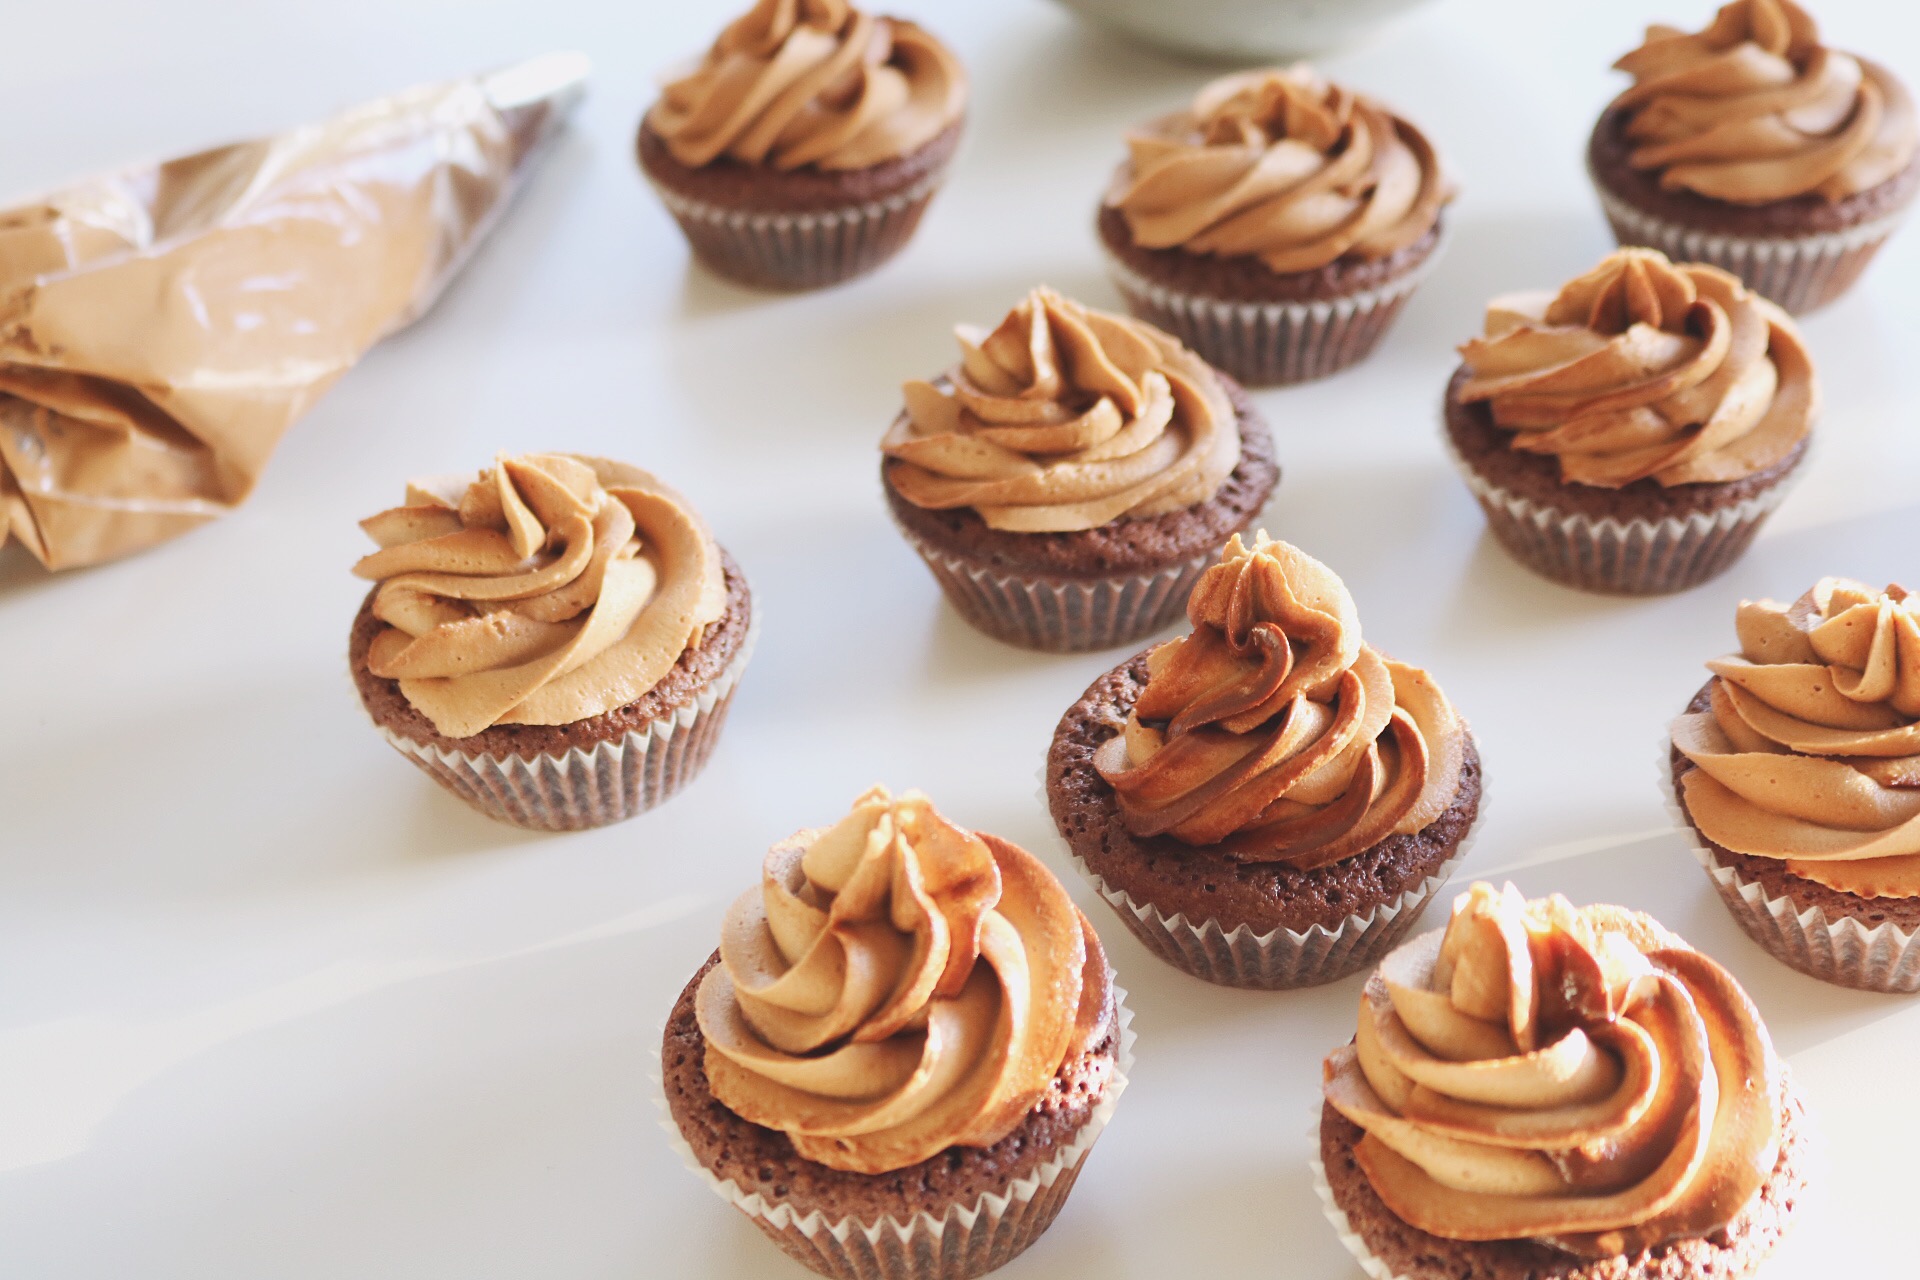
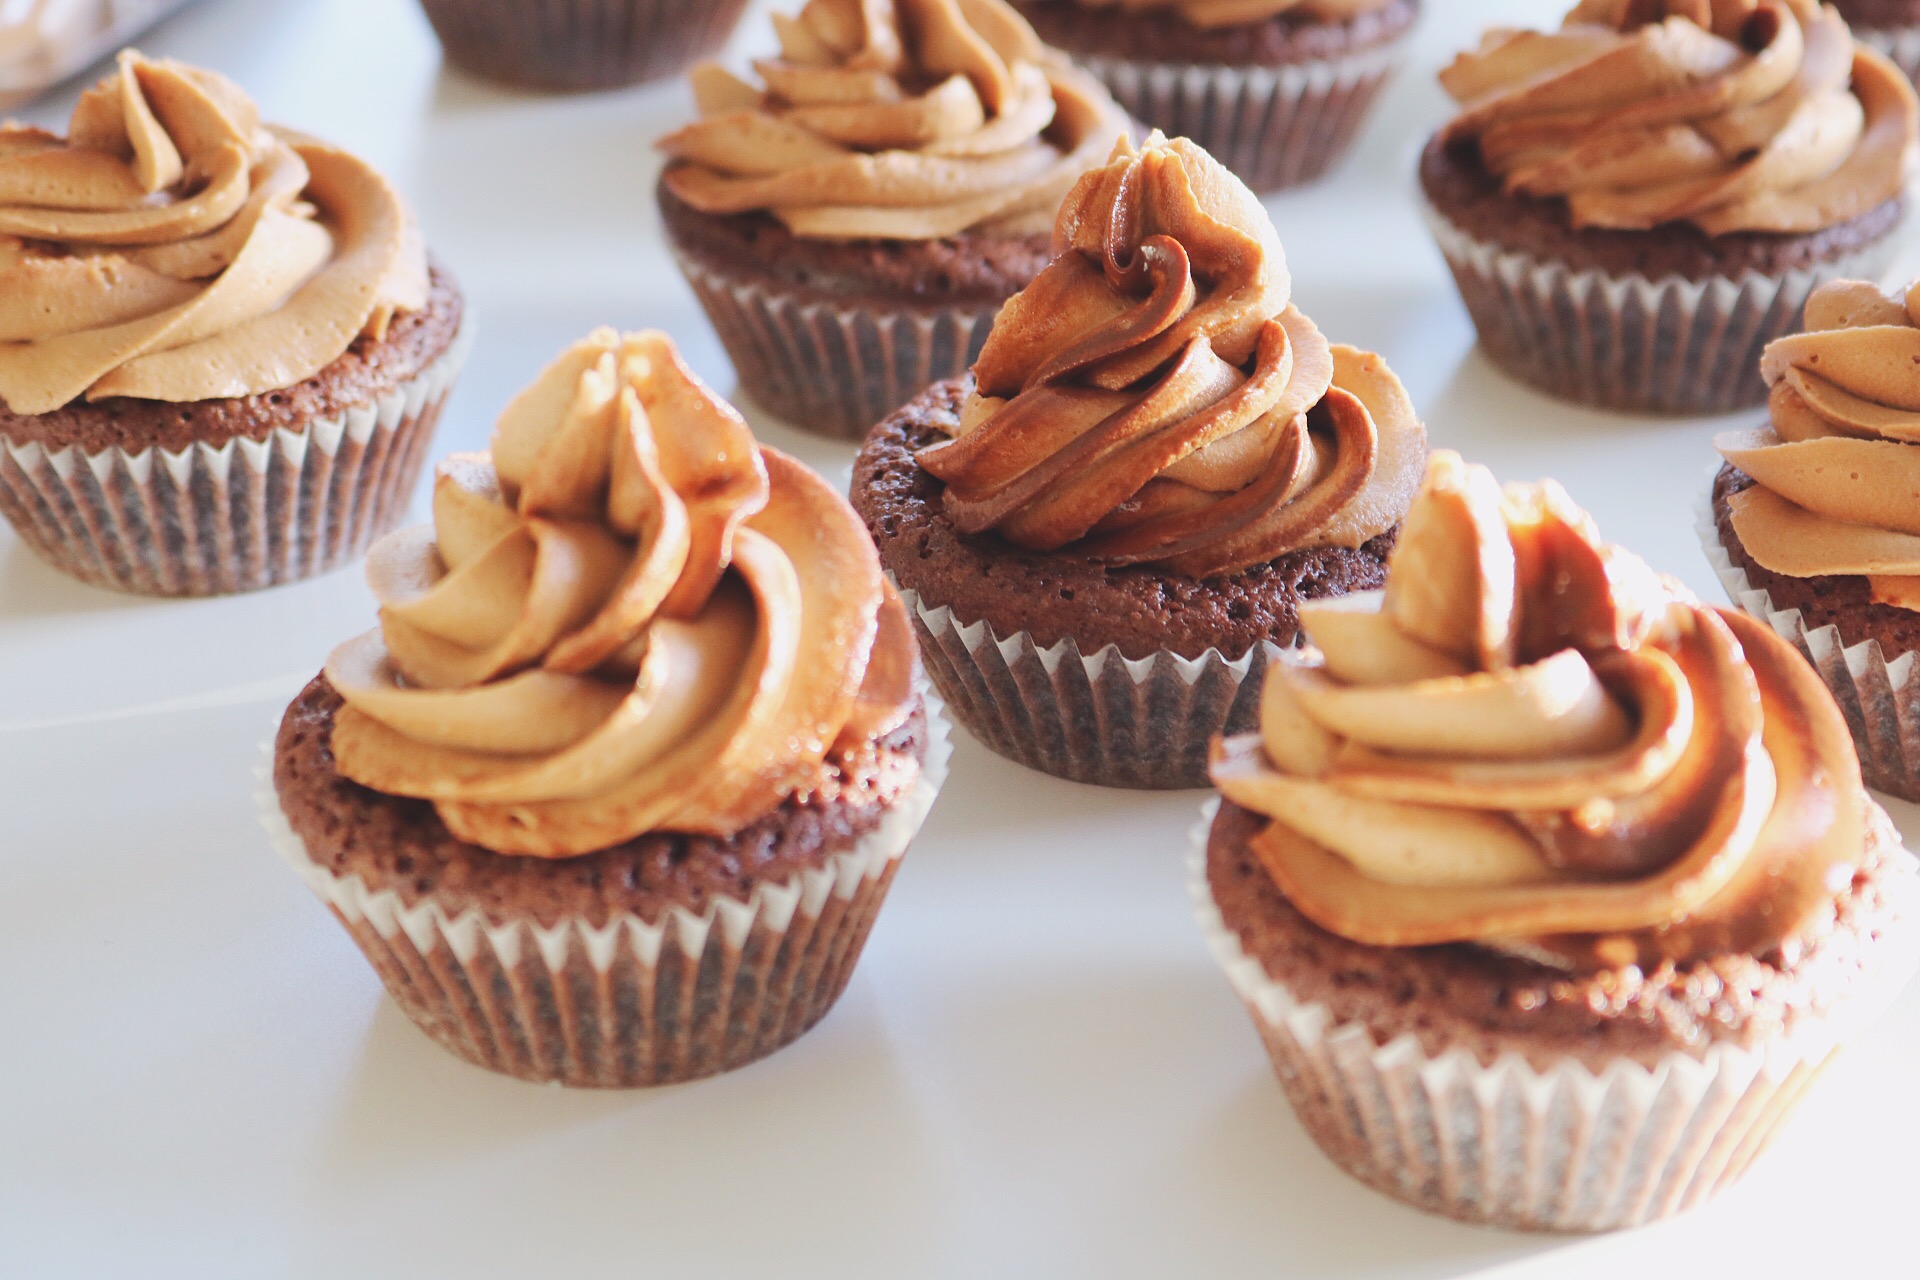
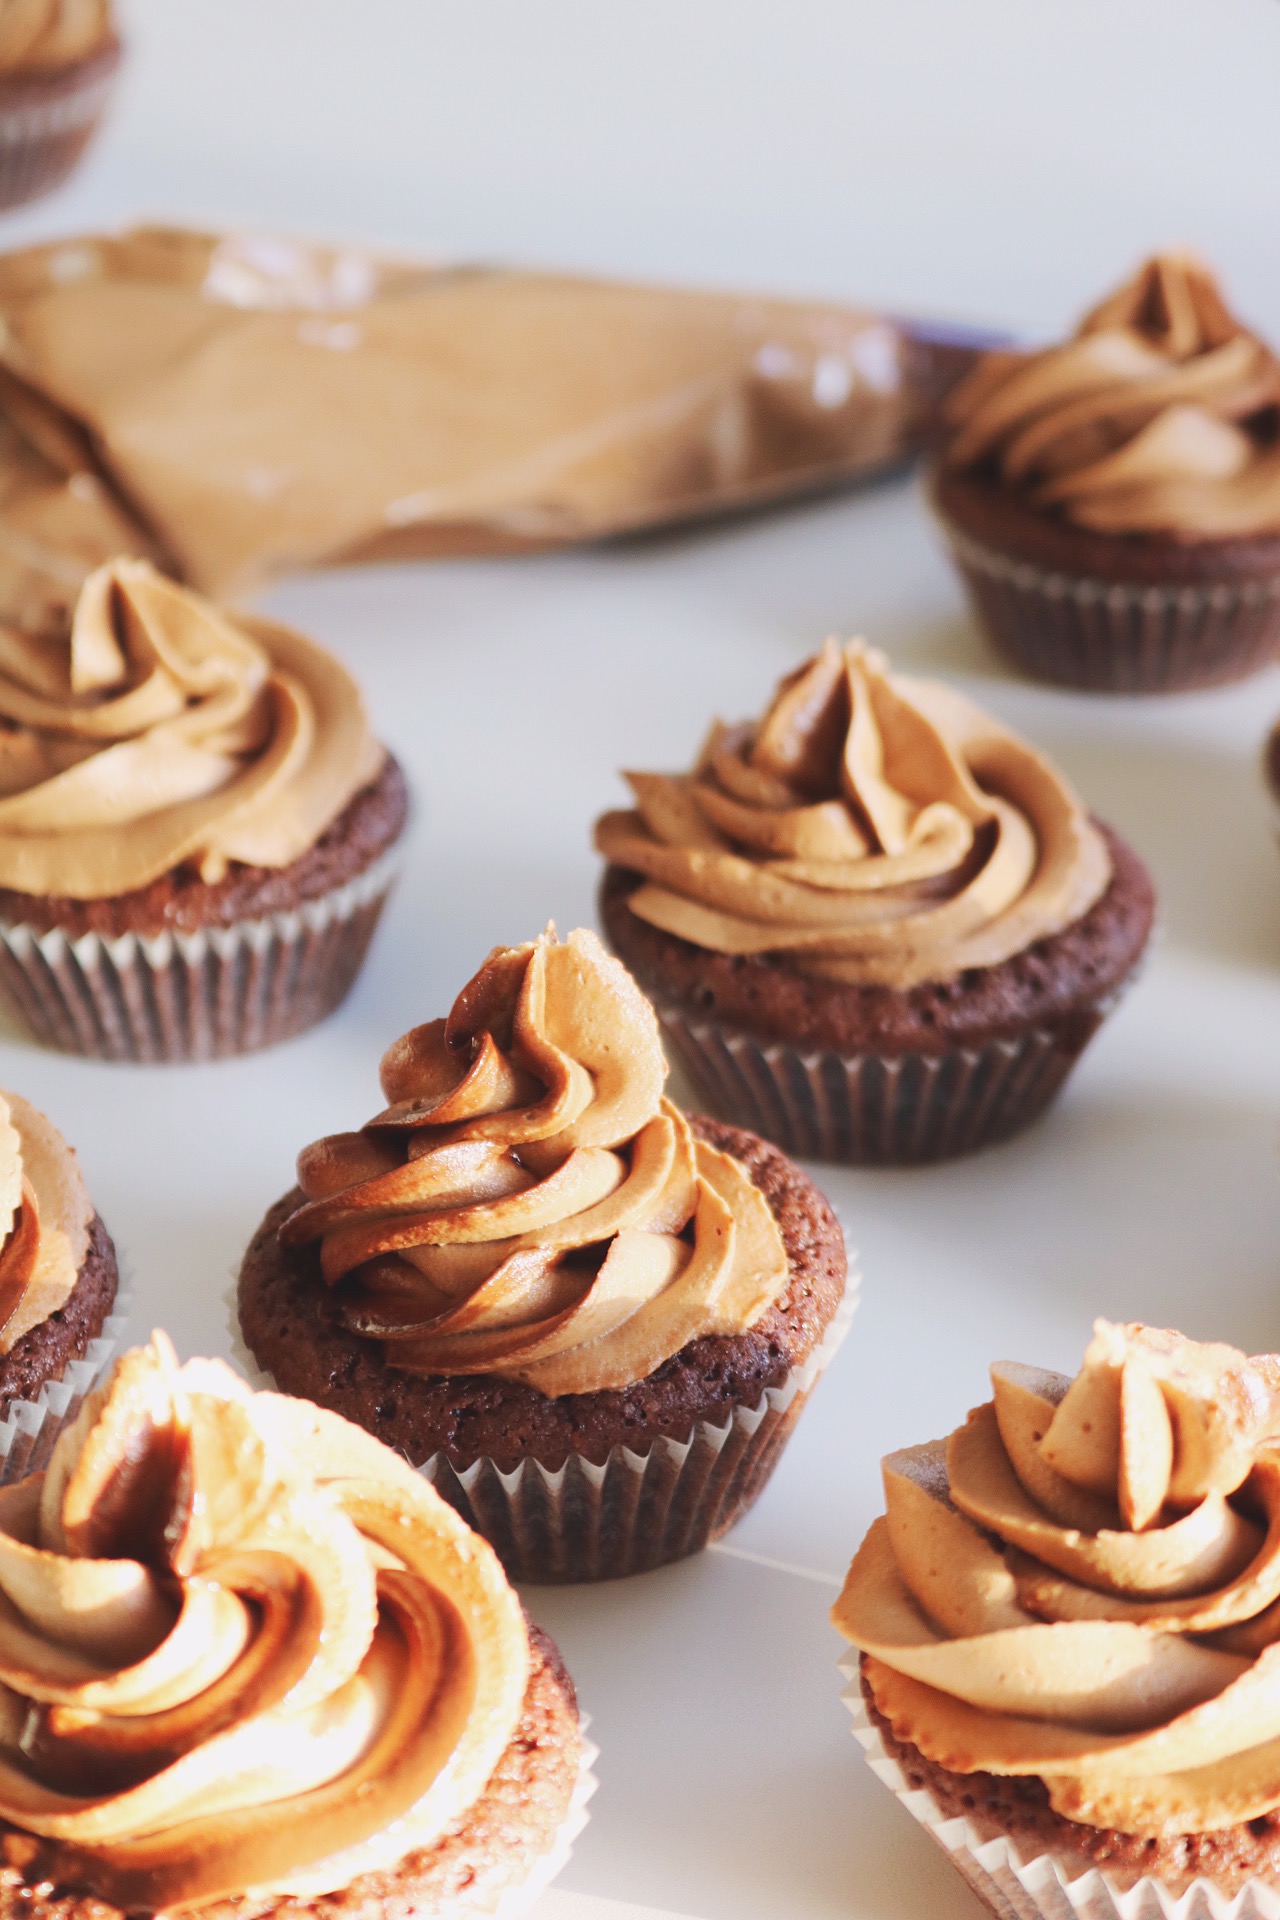
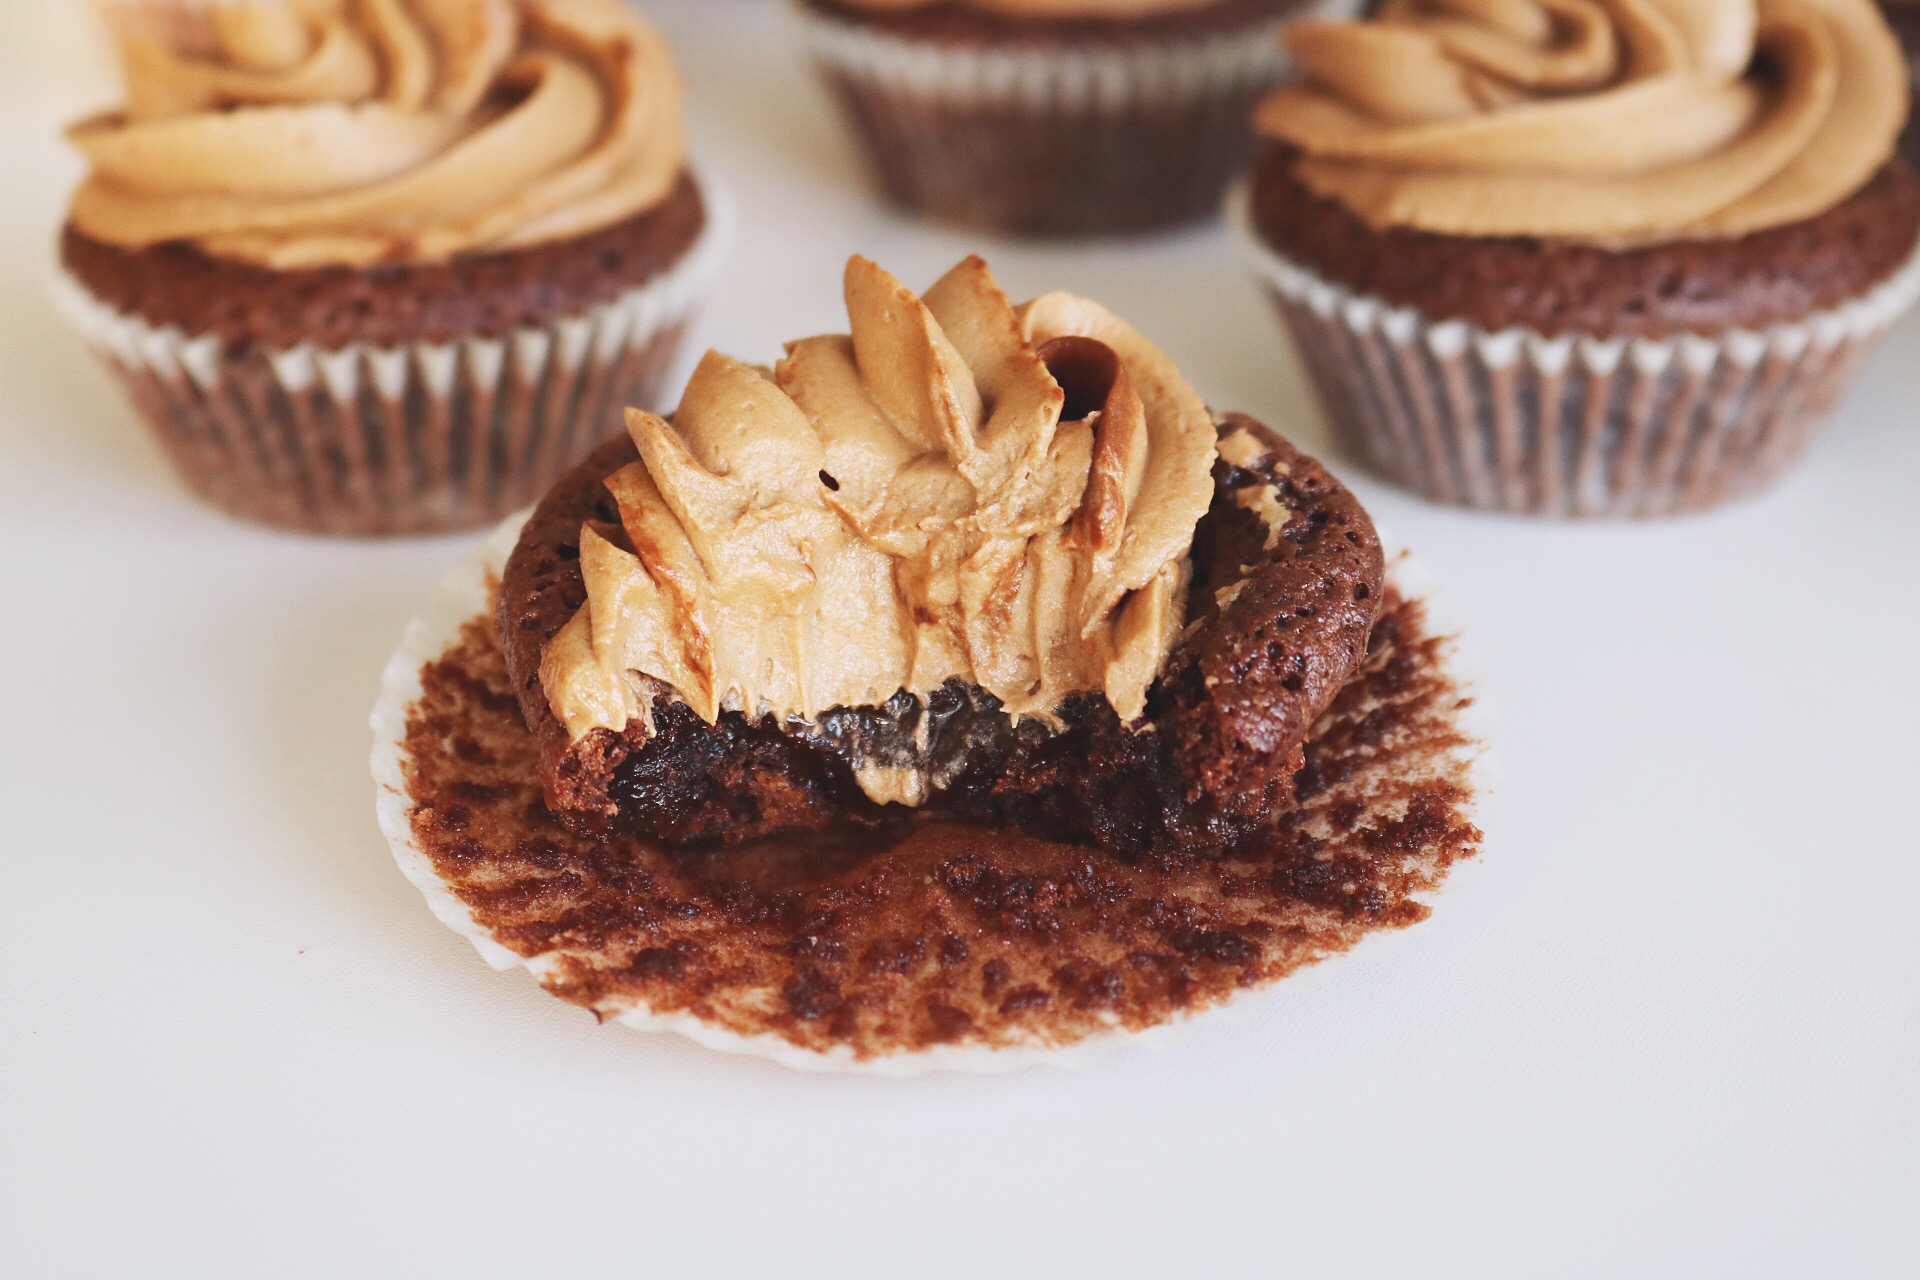
These chocolate muffins are to die for! The muffins are sticky and soft in the center and the frosting has a taste of chocolate and coffee, the perfect combination.
The chocolate muffins are also good on their own, no need for the frosting if you just want to have a delicious and sticky chocolate cake. It also suits perfect as a dessert, just serve it with berries and ice cream or whipped cream. A must try!
YOU NEED:
16 port.
Sticky chocolate muffins:
2 eggs
3 dl sugar
1 1/2 dl flour
2 tsp vanilla sugar
4 tbsp cocoa powder
A pinch of salt
100 g melted butter
Chocolate and coffee frosting:
200 gram butter, room temp (needs to be very soft)
1/2 tsp salt
100 gram melted dark chocolate (cooled)
1 1/2 tbsp strong coffee (cooled)
7 dl powdered sugar, sifted (more if needed)
DO THIS:
Muffins:
- Put the oven at 225 °C.
- Stir together eggs and sugar (do not whisk).
- Mix the dry ingredients and then pour it into the egg mixture.
- Stir down the melted butter. Fill the batter in small muffin forms, I recommend to use a muffin pan.
- Bake in the lower part of the oven for about 8-10 minutes. The center should still be soft.
- Let the muffins cool completely before adding the frosting.
Frosting:
- Beat the butter in a bowl on medium-speed until completely smooth, scraping down the sides when needed, about 4 minutes. Should be fluffy and very light colour. Add the melted chocolate and coffee and beat until completely combined.
- Add powdered sugar, 2 dl at a time, on low speed. Once all of the sugar has been added, add in salt and beat for another 2 minutes.
- Spoon the frosting into a piping bag. Pipe the frosting onto each muffin.
ENJOY!!! :)
x Jen
INSTAGRAM:
@JENNIFERBERGP & @JENSDELISIOUSLIFE
For all my recipes, visit https://jensdeliciouslife.com/
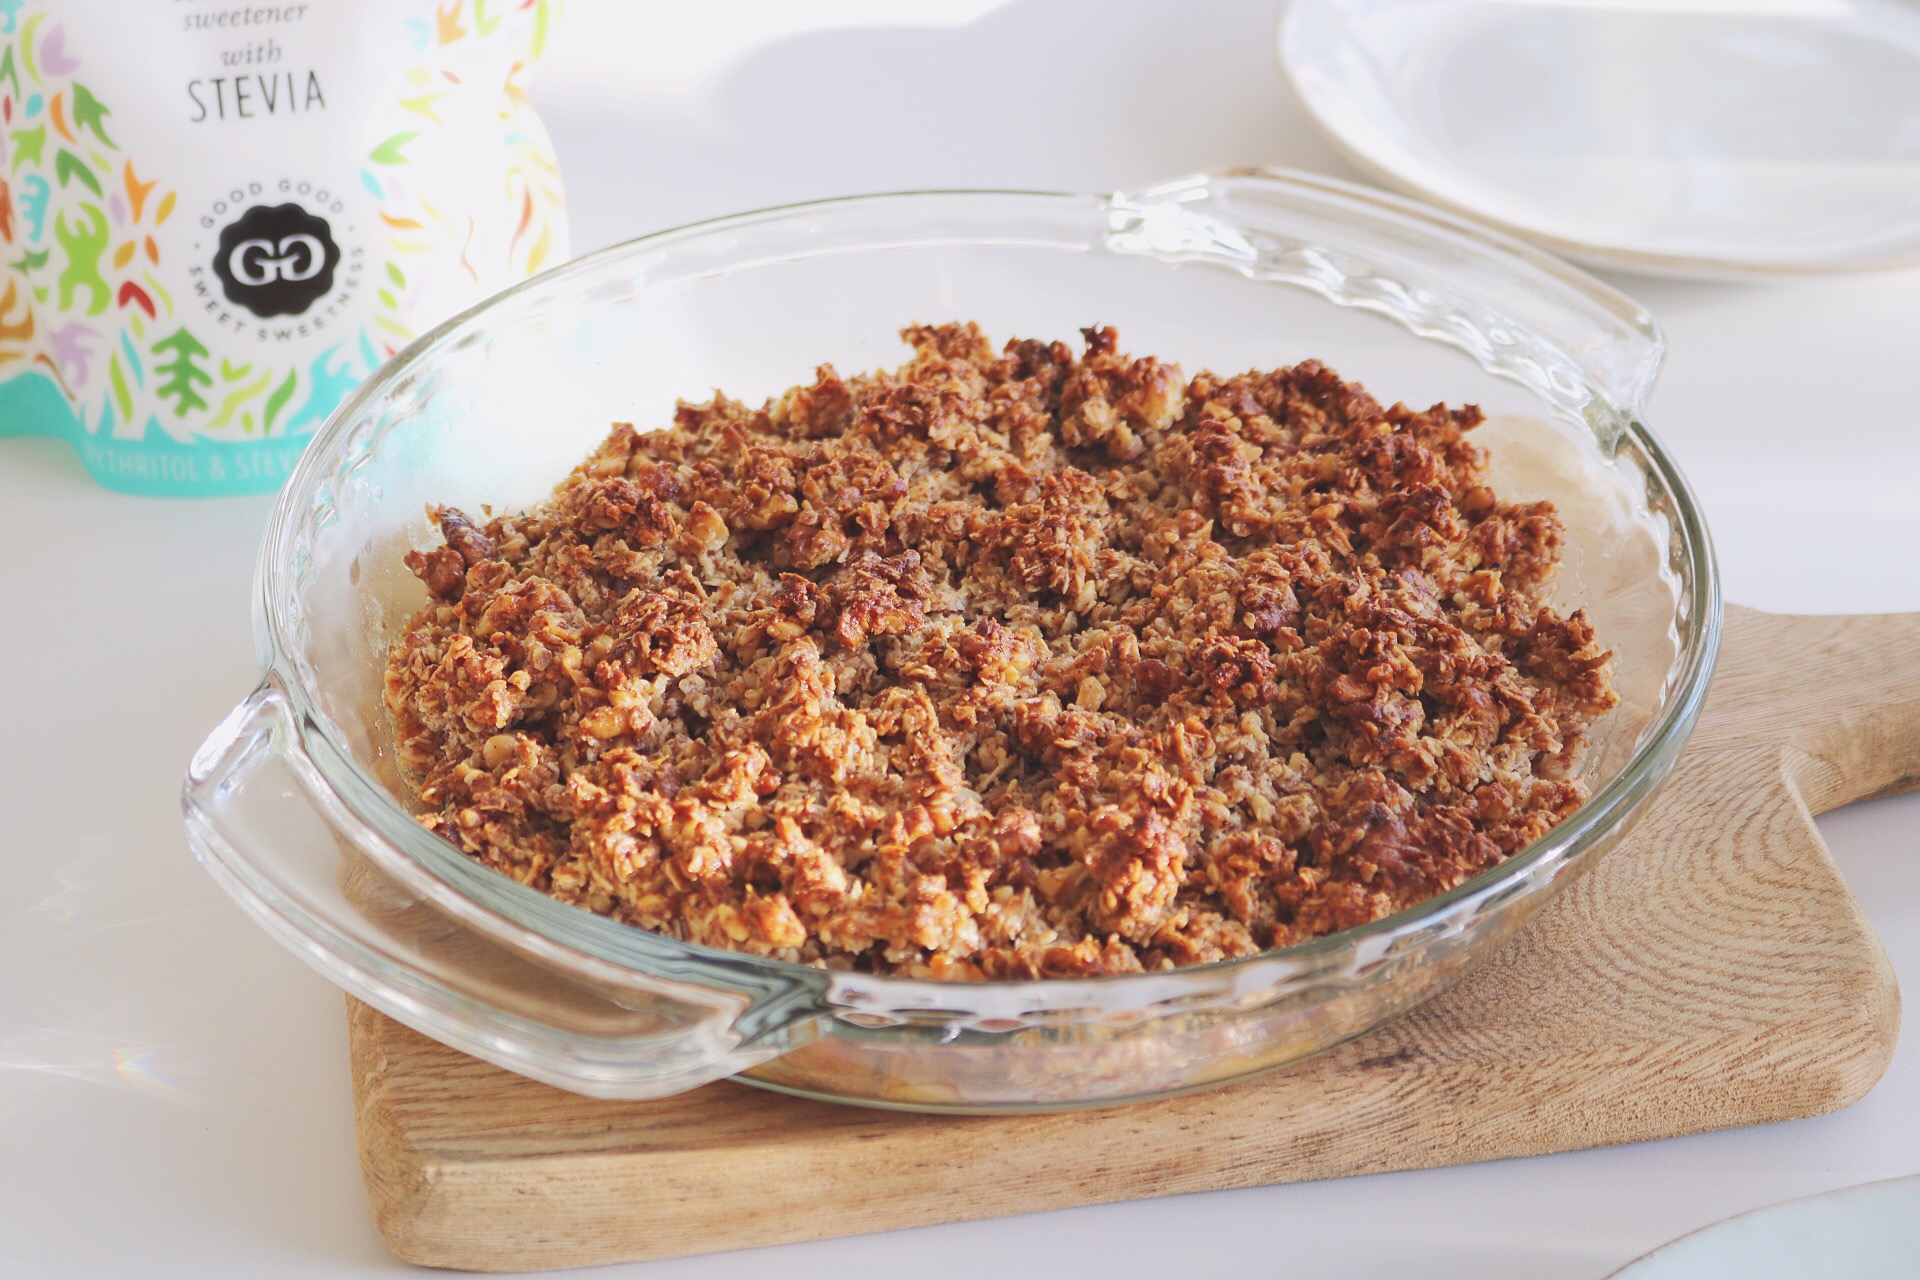


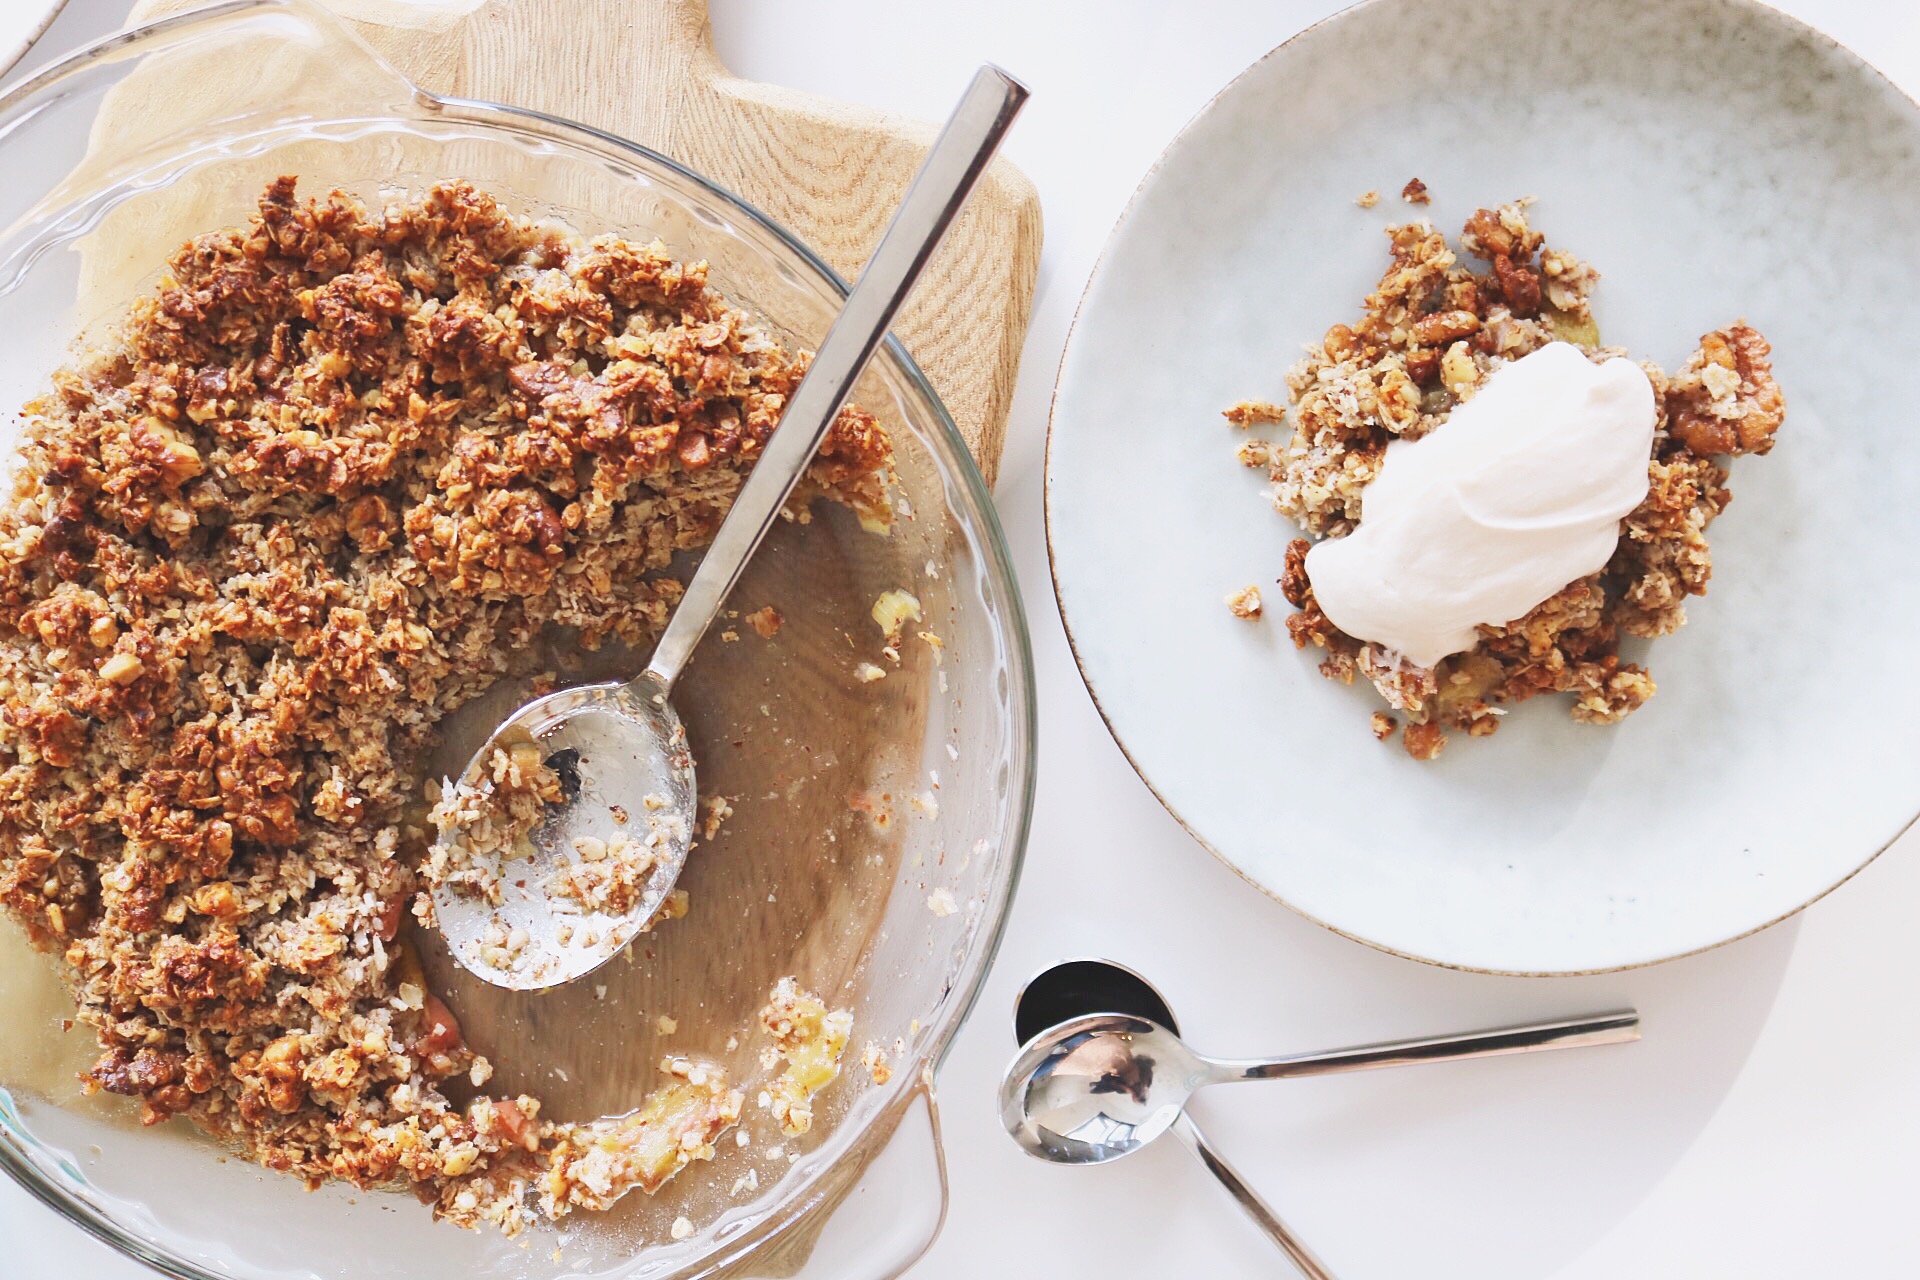
In a collaboration with Good Good by Via Health I got to try different types of Stevia. It’s a natural sweetener and makes your cooking and baking so much healthier.
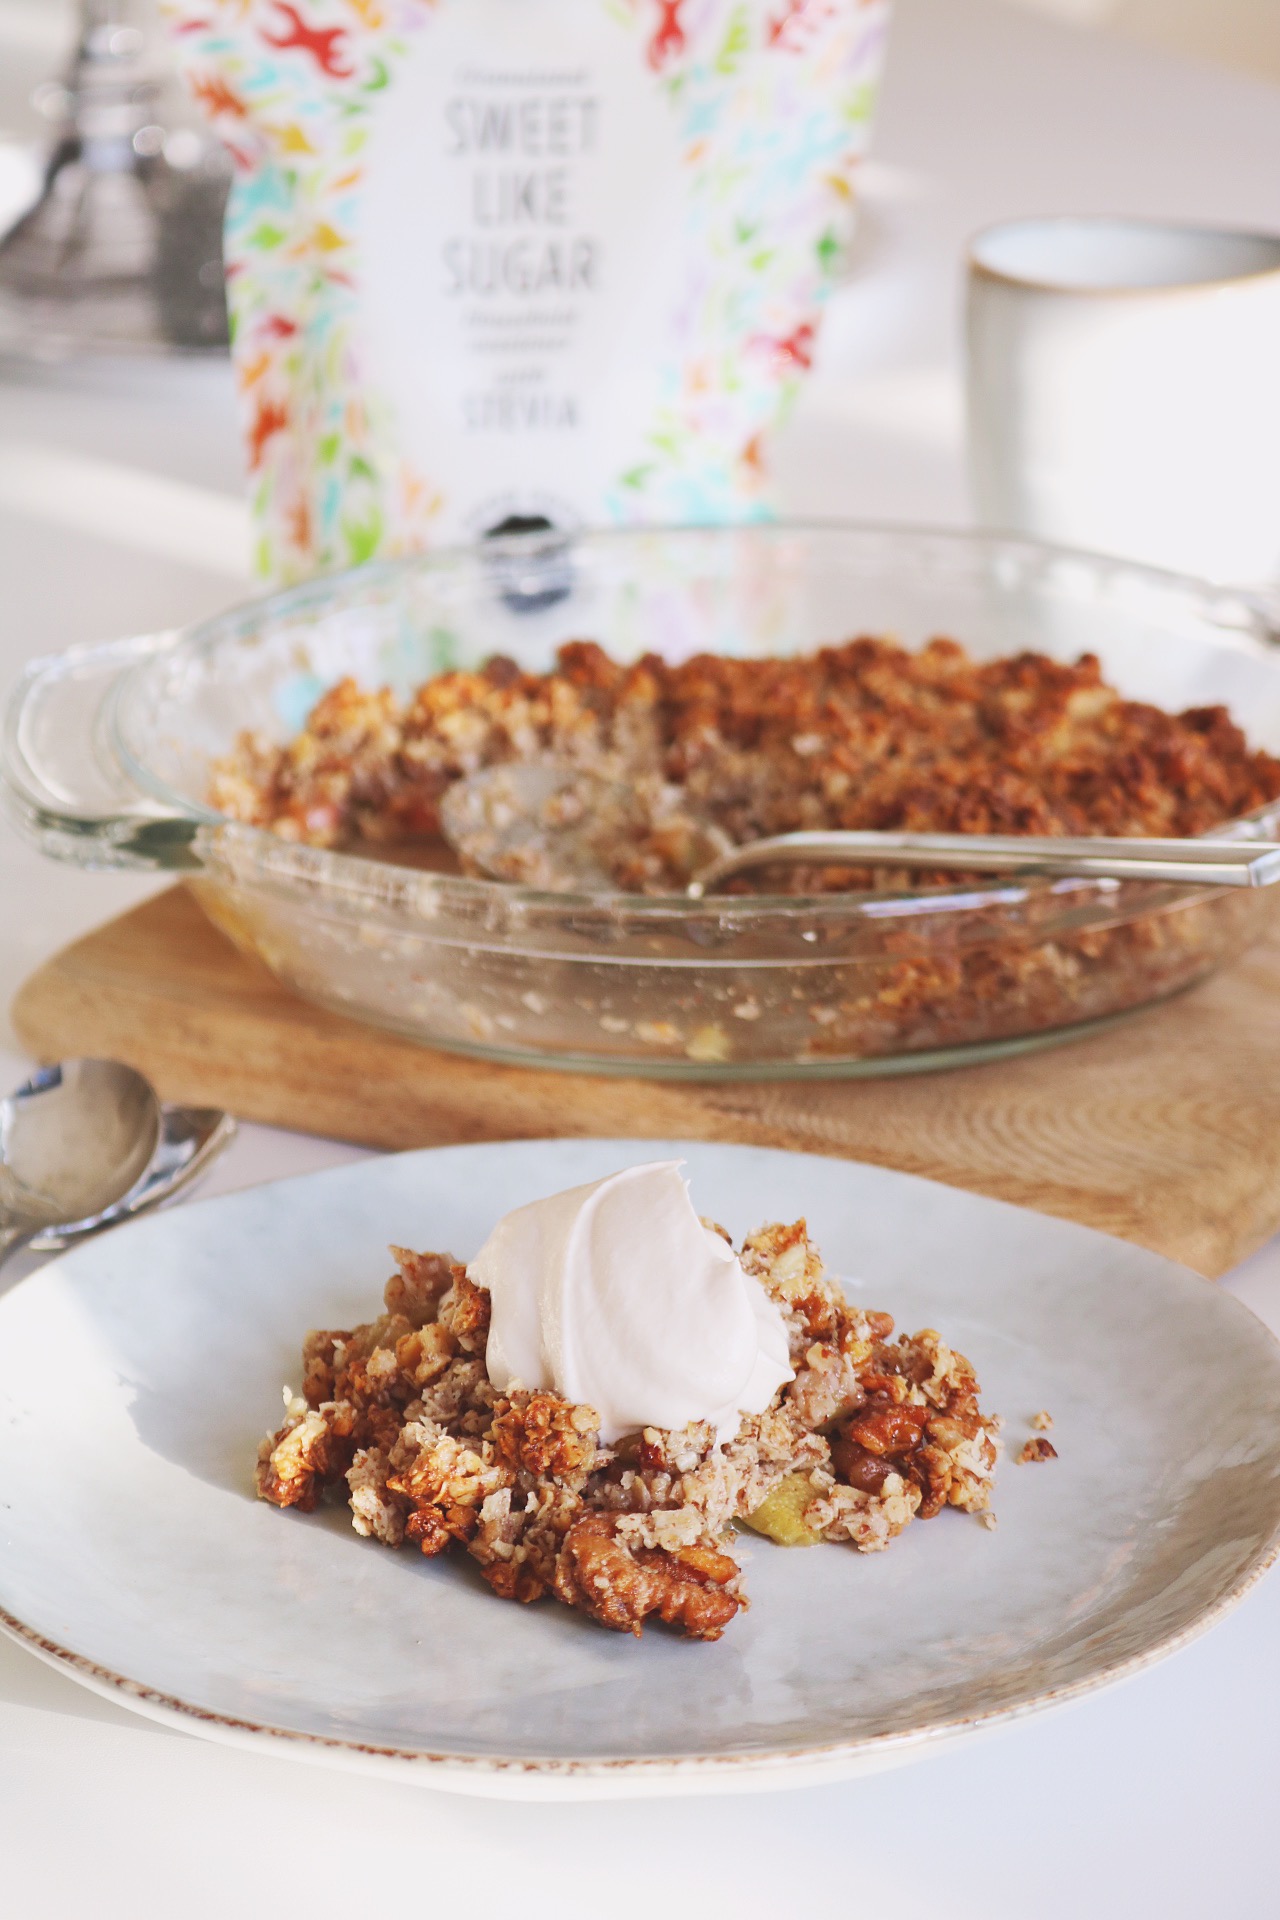
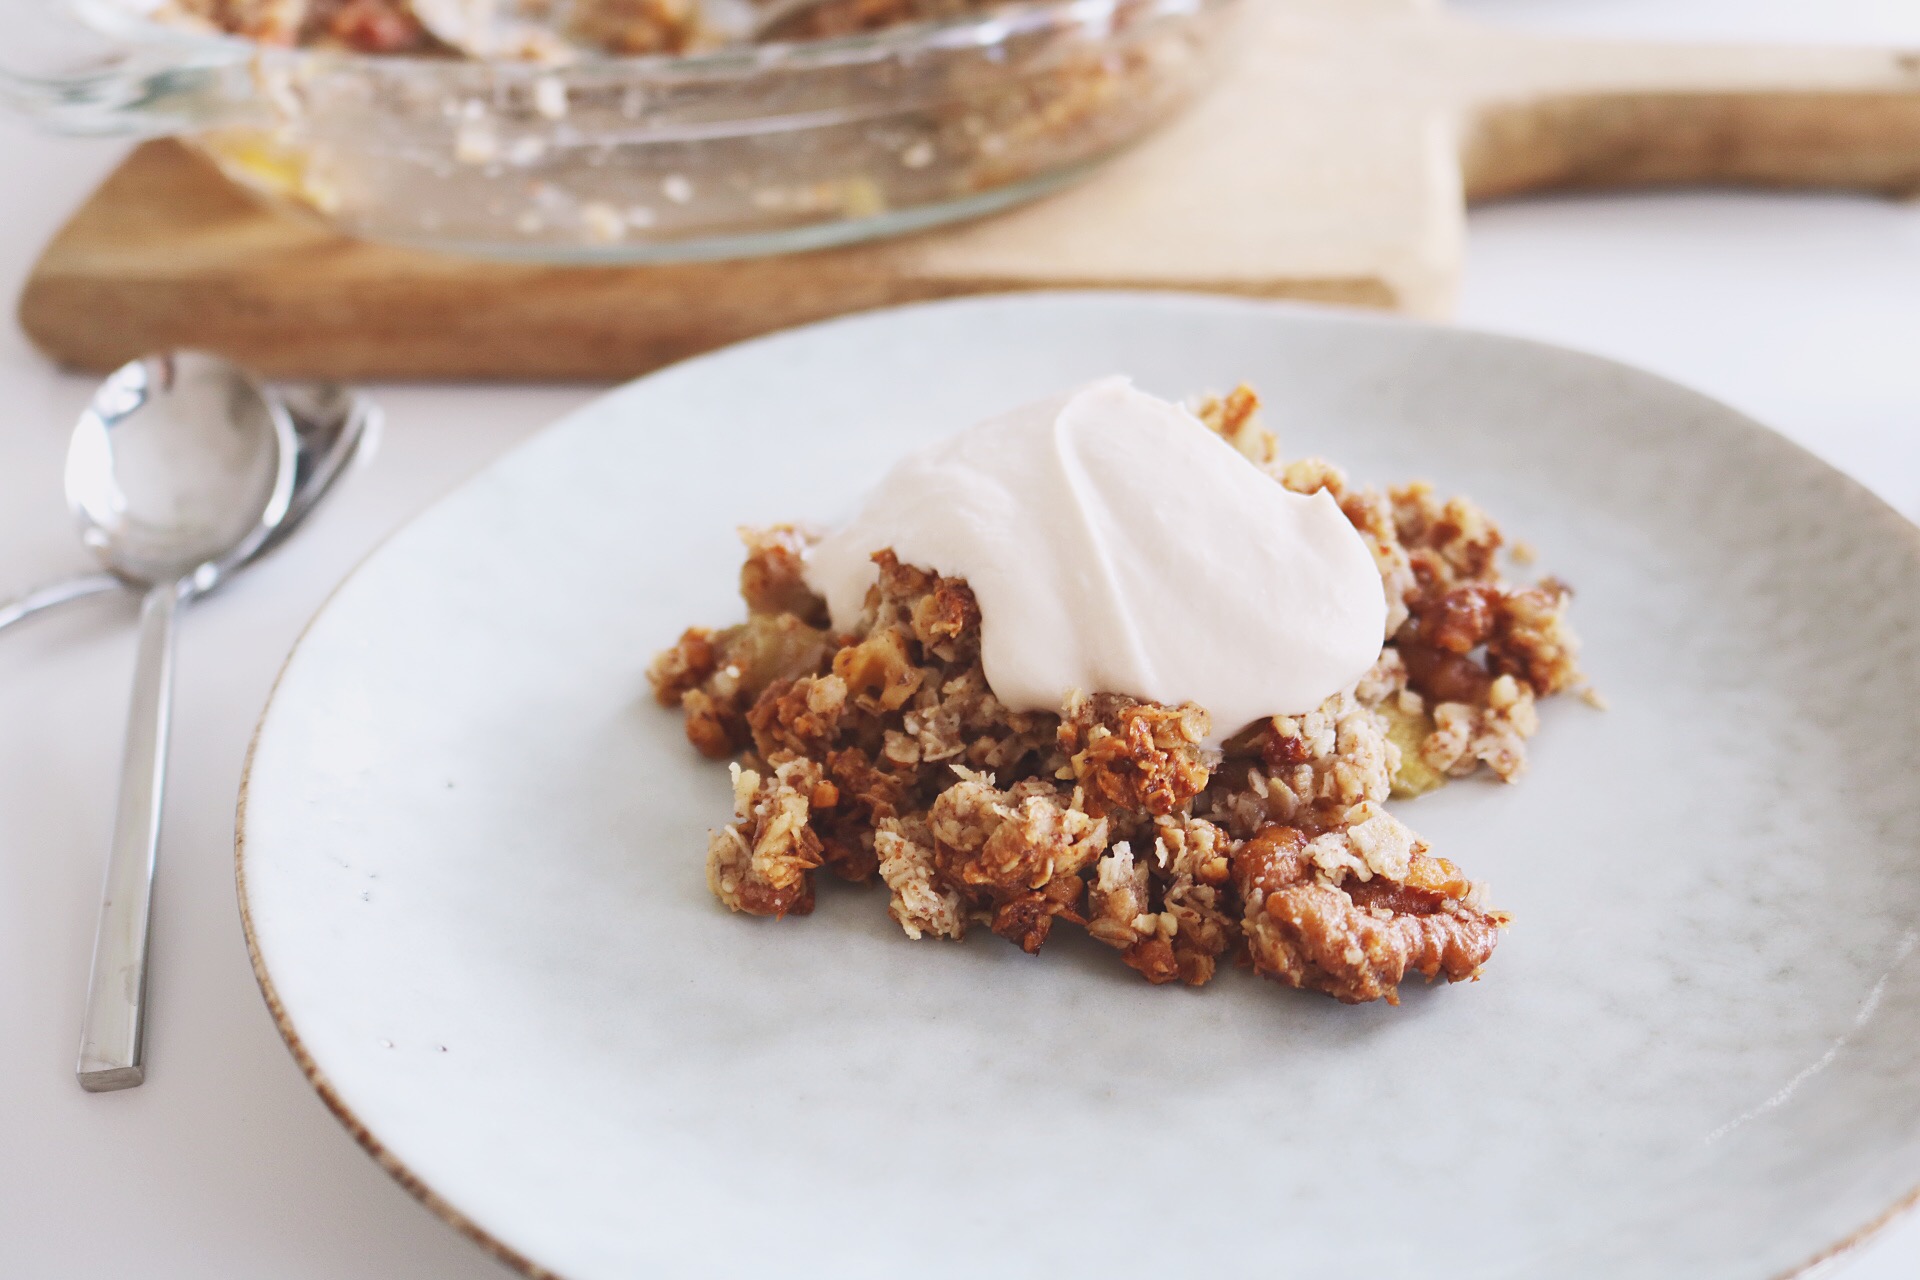
This time I tried Sweet Like Sugar in my pie, I used it instead of regular sugar and it turned out so good! You need to try this delicious and healthy pie, it’s also vegan and gluten free. Very easy to bake and you can choose different kind of fruits or berries. I served my pie with coconut whipped cream, a big favourite! I recommend to buy the coconut milk/cream that are in tetra-pak and not in cans.
YOU NEED:
2-3 rhubarb, sliced into pieces
1/2 dl Sweet Like Sugar (Stevia sugar)
1/2 tsp cinnamon
For the crumble:
1 1/2 dl oats
1 dl almond flour
1 dl coconut flakes
3-4 tbsp coconut oil
2 tbsp honey or agave sirap
A pinch of vanilla powder
1 dl chopped hazelnuts and walnuts
Coconut whipped cream:
1 pack of full fat coconut milk or cream + vanilla powder
DO THIS:
- Preheat oven to 180 C.
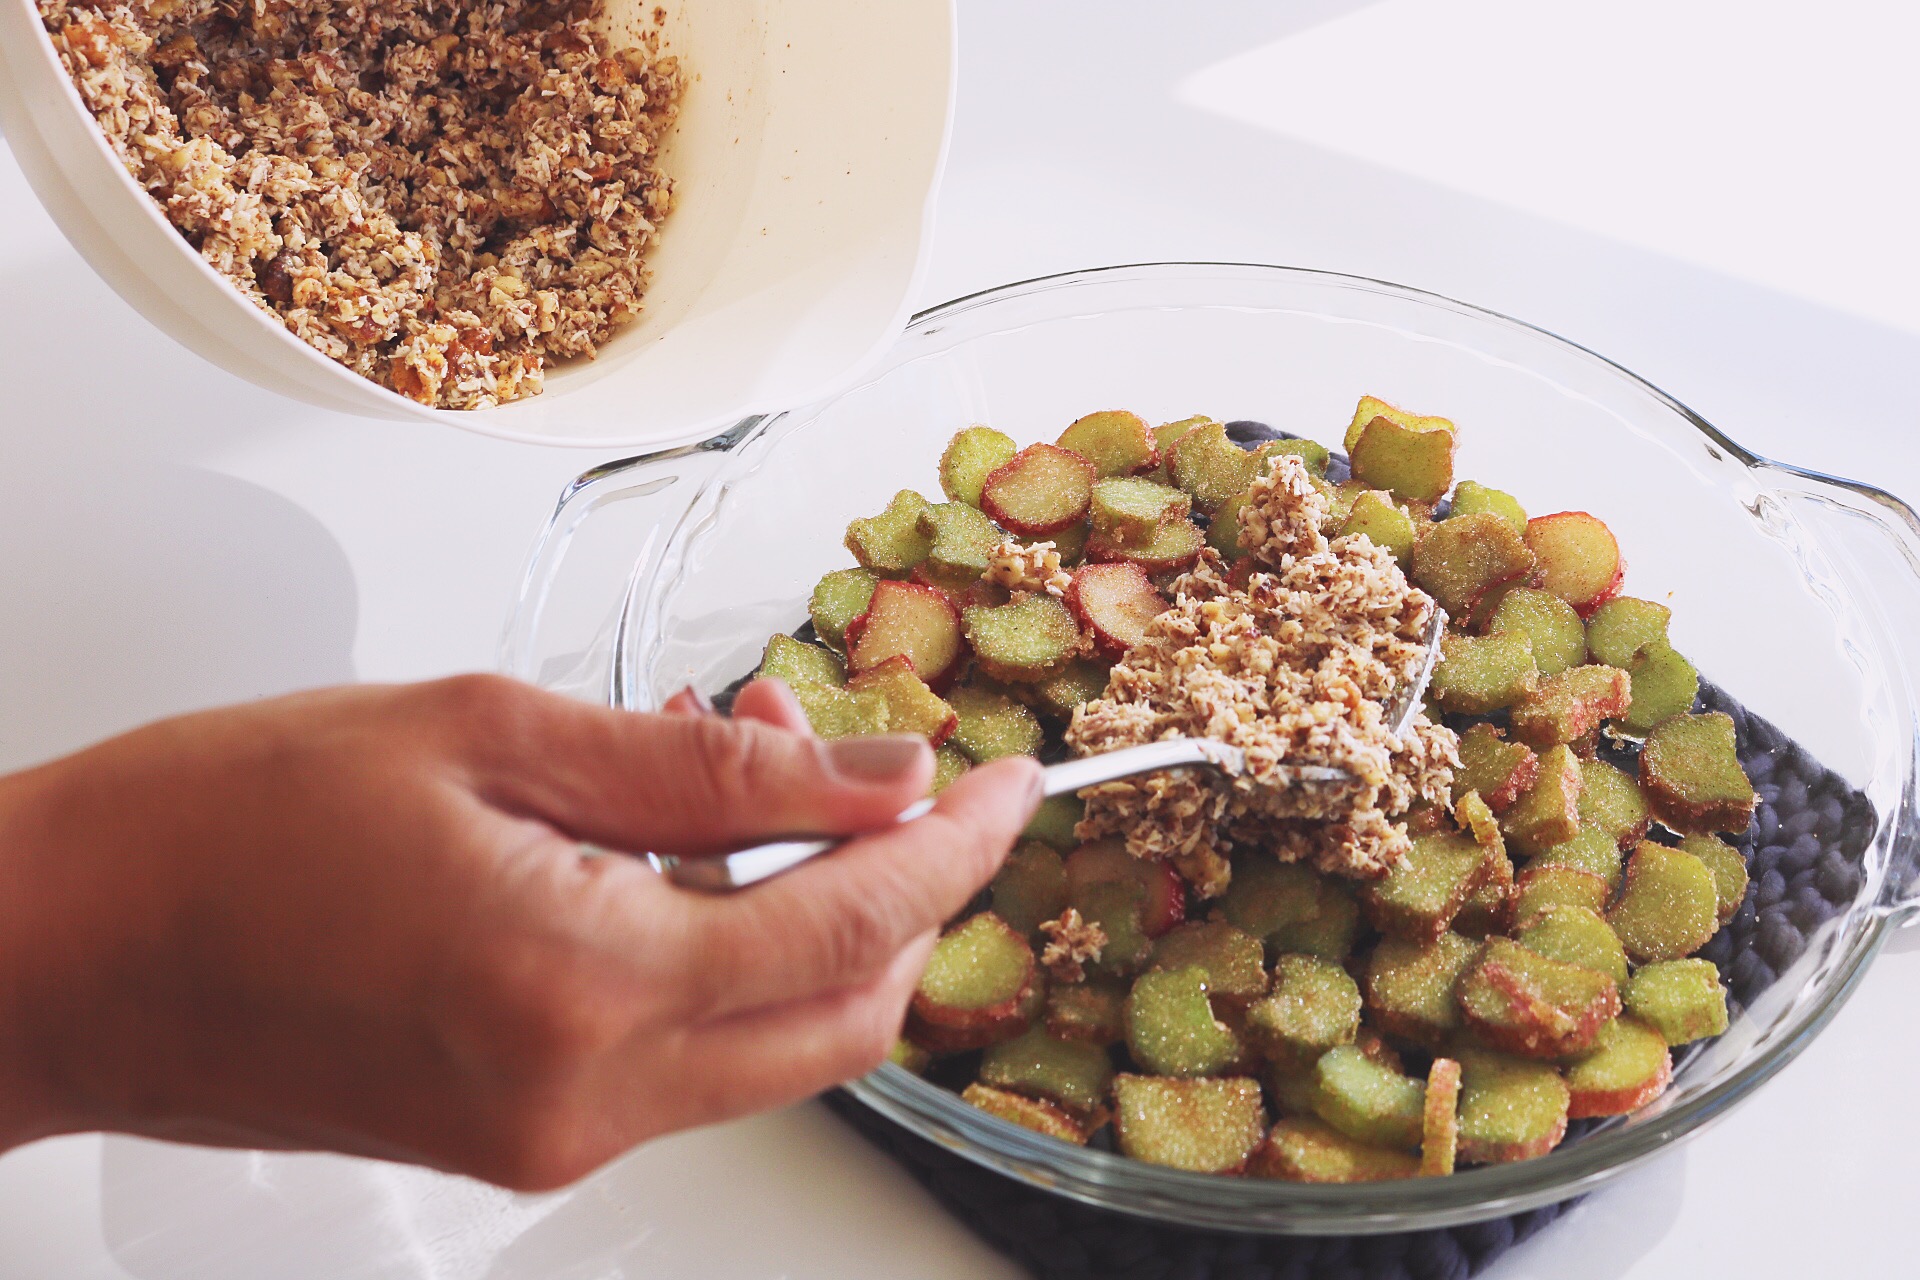
- Combine rhubarb with Sweet Like Sugar and cinnamon and add it to a pie form.
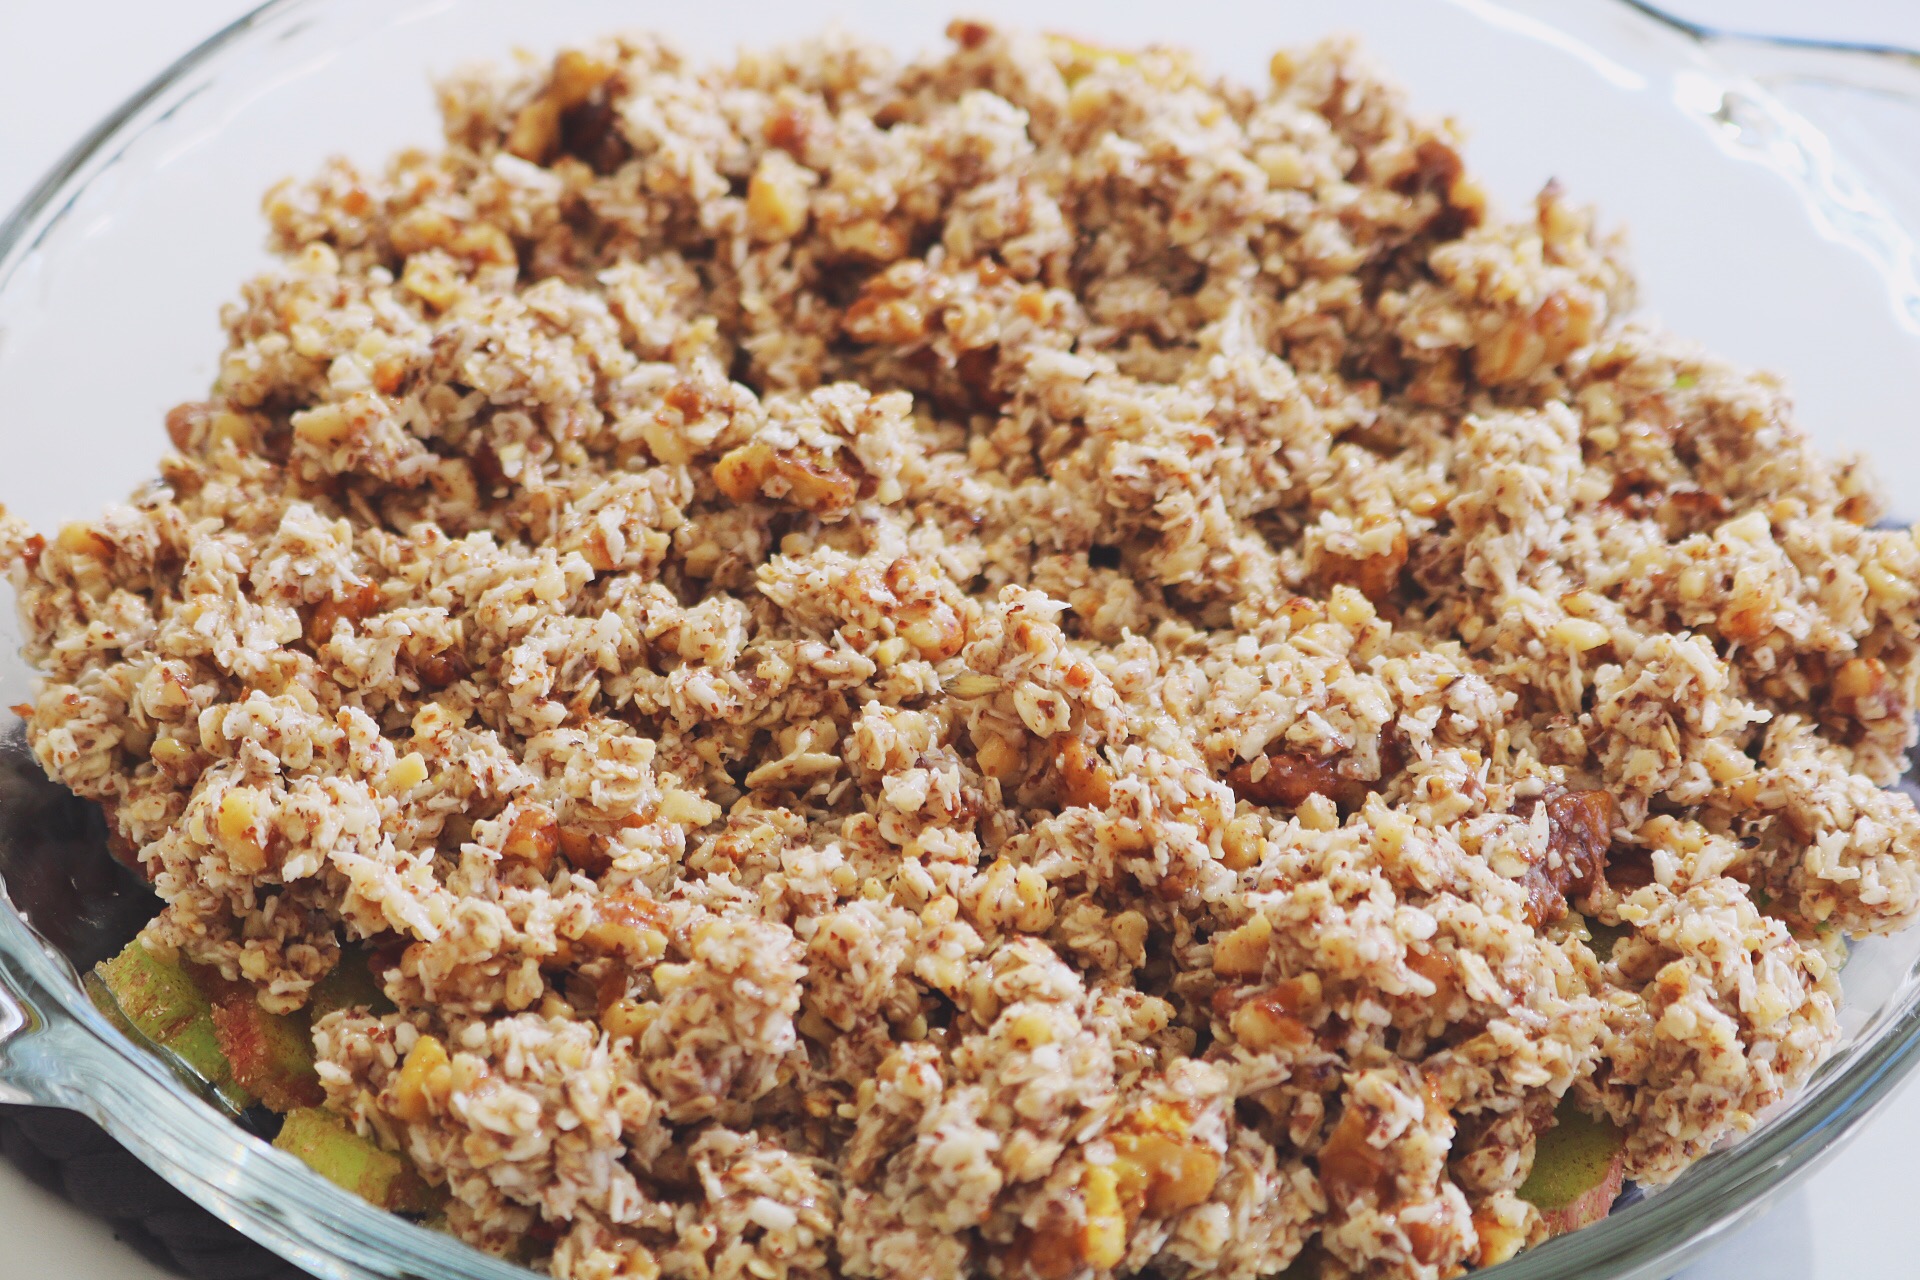
- Mix all the ingredients for the crumble with your hands or a fork until crumbly. Sprinkle it over the rhubarb mixture.
- Bake for about 30 min, until the topping is golden brown.
- Serve the pie with coconut whip.
HOW TO MAKE COCONUT WHIPPED CREAM:
- Chill your coconut cream or coconut milk in the refrigerator overnight or in the freezer for 1 hour before whipping, being sure not to shake or tip the package to encourage separation of the cream and liquid.
- Chill a large mixing bowl 10 minutes before whipping. Remove the coconut cream or milk from the fridge without tipping or shaking. Use only the thickened cream and leave the liquid behind (you can save that for example to your smoothies).
- Place the white cream in your chilled mixing bowl. Beat for 30 seconds with a mixer until creamy. Add some vanilla powder if you want. Taste and adjust sweetness as needed. Ready to serve!
ENJOY!!! :)
x Jen
INSTAGRAM:
@JENNIFERBERGP & @JENSDELISIOUSLIFE
For all my recipes, visit https://jensdeliciouslife.com/


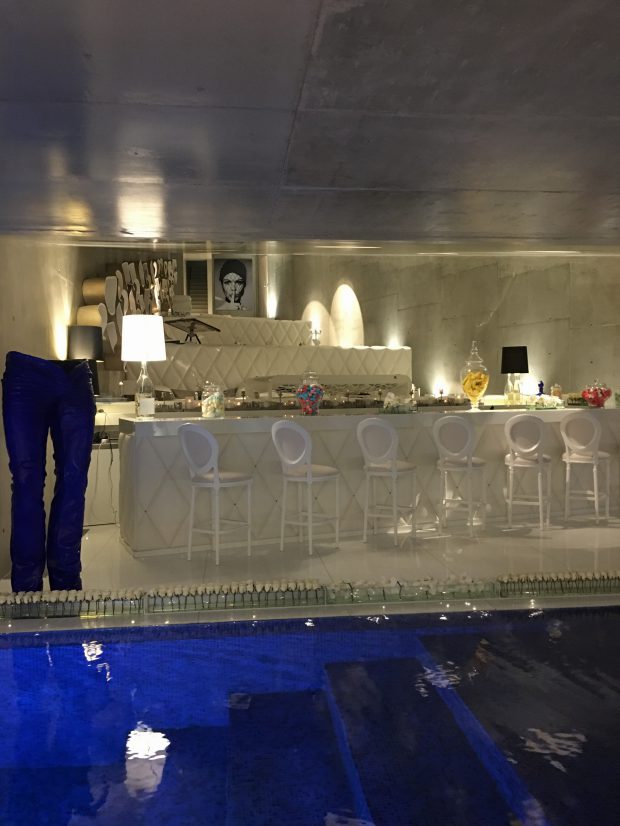
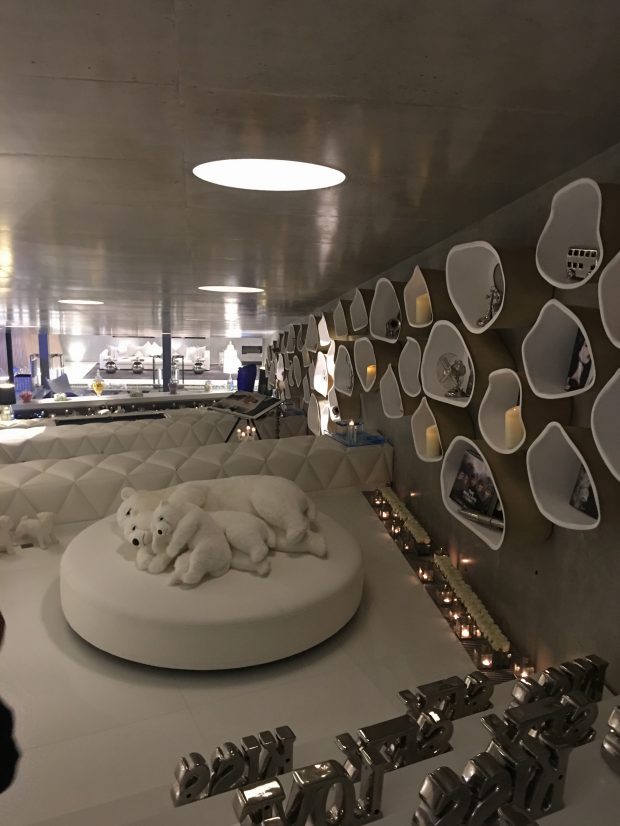
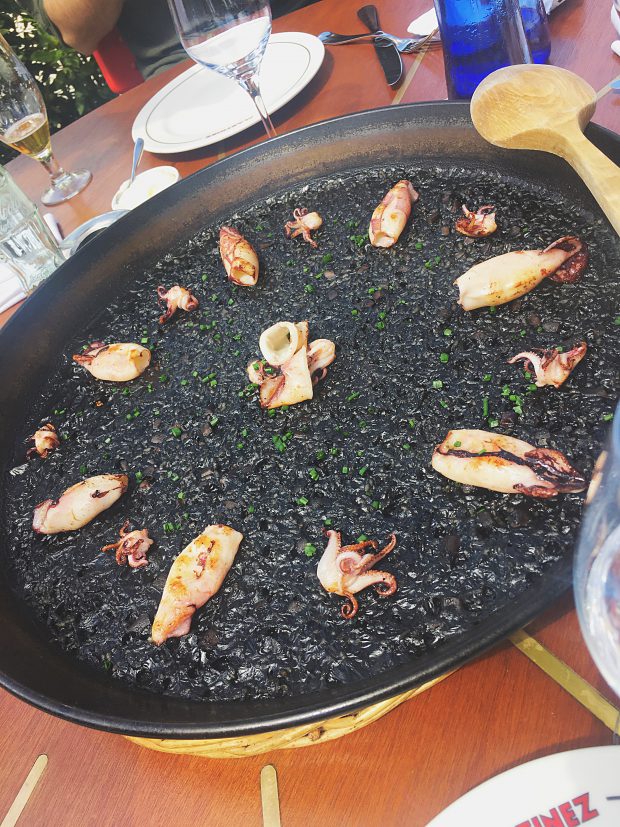
As you might remember I was in Barcelona for work a few weeks ago. I also went to Finland to my MA (mother agency) and then to Stockholm for a meeting with one of the best and biggest agency in Sweden called MIKAs. And my meeting was to hopefully get signed with them. And yes, great news as I captioned it! I did get signed! I’m so happy for that, also as it is my home country and that MIKAs is a very good agency to be with. I’m so thankful for this!
The pictures above is some quick polaroids they took when I was there. :)
x Jen
INSTAGRAM:
@JENNIFERBERGP & @JENSDELISIOUSLIFE
For all my recipes, visit https://jensdeliciouslife.com/

I’m packing and preparing for a week in Cannes! It will be so much fun and can’t wait, it’s the Cannes Film Festival there now and a lot of things are going on! You might remember I was there last year.
I’m going with a very early flight tomorrow… It seriously takes a whoooole day to travel to Cannes from Iceland, it’s insane haha. Need to change flight in Paris as it’s no direct flight to Nice from here… :( But anyway, it’s worth it.
See you soon France, and bye Iceland for now.
x Jen
INSTAGRAM:
@JENNIFERBERGP & @JENSDELISIOUSLIFE
For all my recipes, visit https://jensdeliciouslife.com/

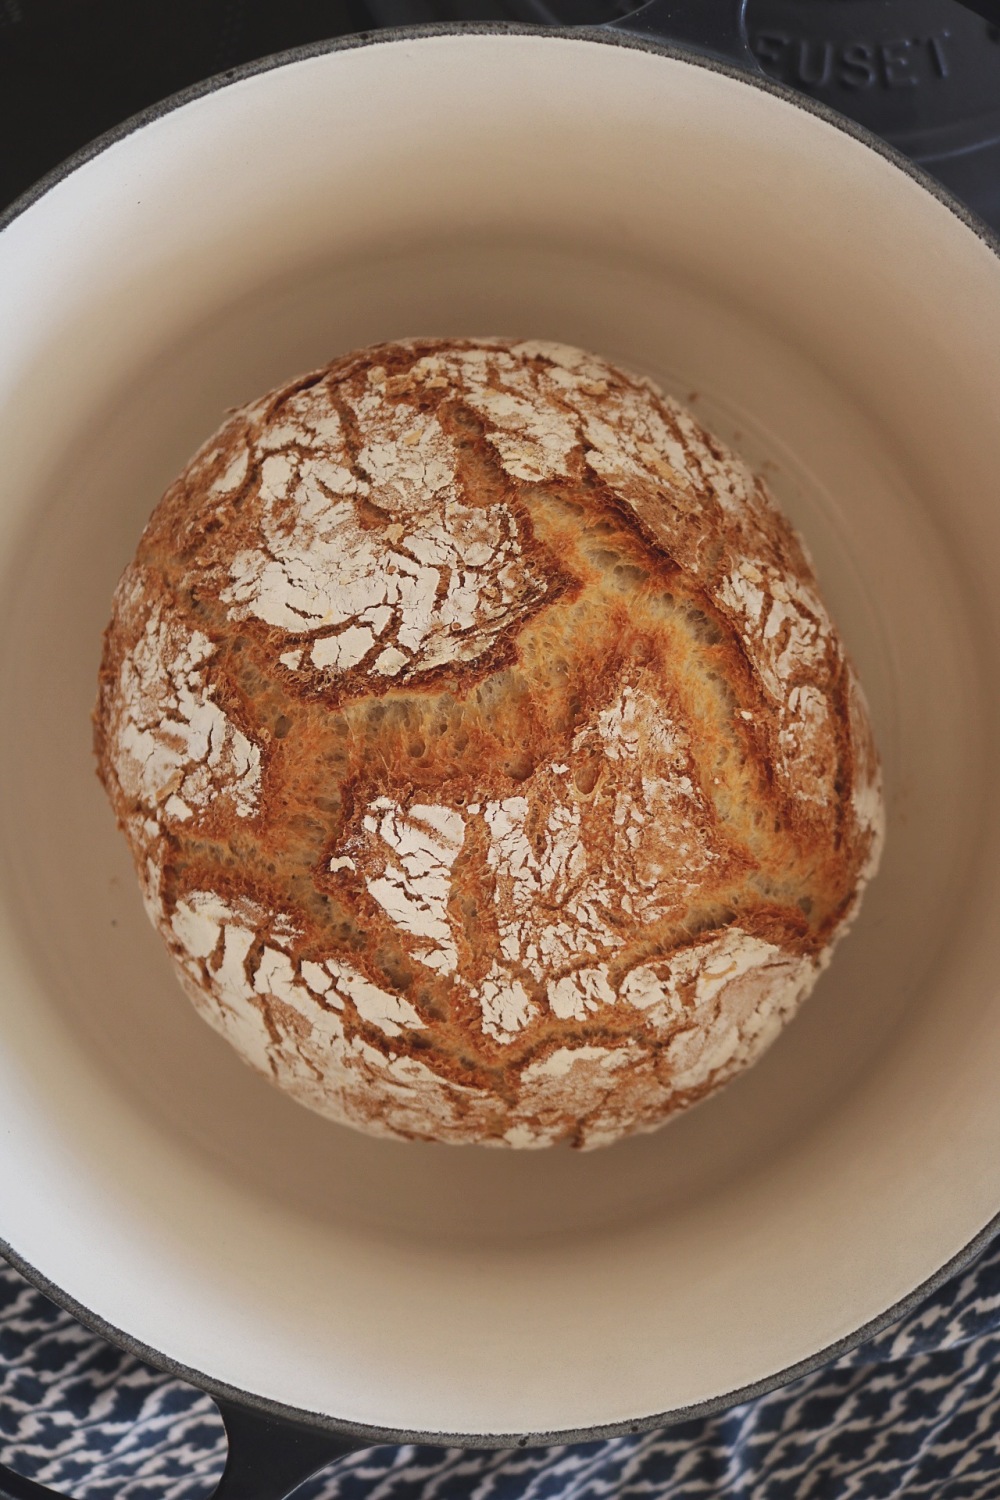


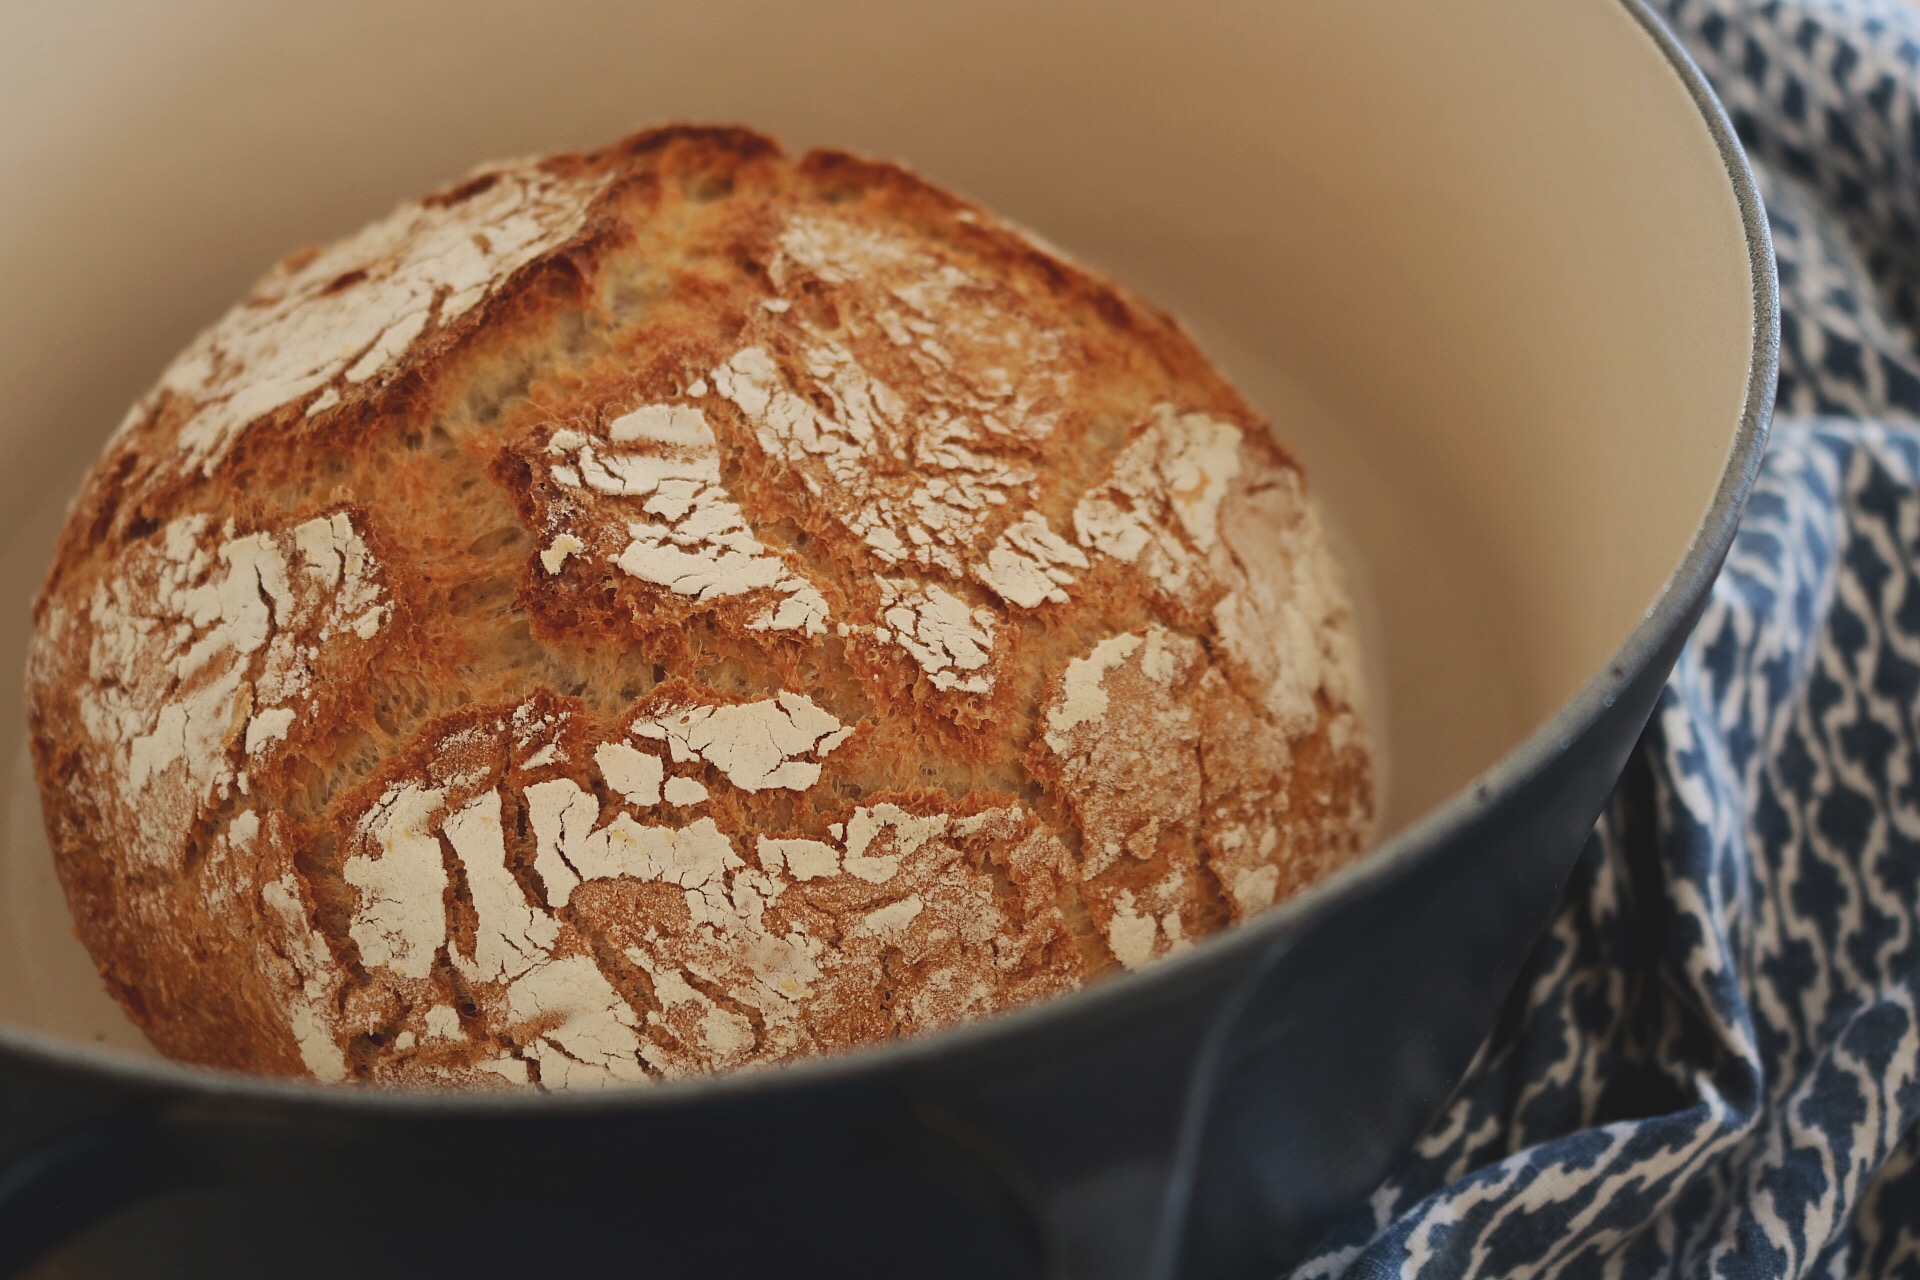
This must be the most easy and gorgeous looking crust bread, and it taste’s delicious as well! No need to let the dough rise overnight, it only takes 2.5h. If you feel that you want a homemade bread for dinner today you can just do it the same day, no need to plan. And believe me, it’s super easy to bake. I’ve also attached a quick video tutorial down below on how to fold the bread dough.
That crunch on the outside is just perfect and the inside is super airy and soft. You will love it.
I’m baking the bread in a dutch oven as it’s called, for example a “Le Creuset pot”. By using that pot with a lid on you create a nice steam inside the pot, and that is what creates that beautiful crust on the bread.
YOU NEED:
2 1/4 tsp dry yeast, or 25 gram fresh yeast
1 tbsp honey
3 dl warm water (37 degrees C)
1 1/2 tsp salt
6 dl flour, plus extra for dusting
DO THIS:
- Combine yeast, honey and warm water in a bowl.
- Let the yeast mix sit for about 5 minutes, until the mixture looks nice and foamy.
Then add salt and stir.
- Add flour to the bowl a bit at a time and mix on low speed (use a dough hook) until all flour is incorporated and the dough has just started to pull away from the sides of the bowl.
- Lightly flour all sides of your dough (don’t mix the flour in, we just want to keep the dough from sticking) and return it to the bowl. Cover with a tea towel and let rise for about 1 h, until the dough has doubled in size.
- When dough has risen, lightly flour a workspace. Tip the dough out of the bowl, it will be a bit sticky, you can wet your fingertips to help it out. AND don’t knead the dough, you want to keep all the air bubbles so you will get an airy and soft bread.
- Sprinkle a bit of flour across the top of the dough. Pull and fold each corner of the dough in towards the center (See video down below), then flip the dough over and shape into a nice round loaf.
- Flour the same bowl and place your loaf into it seam-side down. Cover with a tea towel and let rise another 30 minutes.
- While the bread is resting, place an empty dutch oven (with the lid on) in your oven and preheat 230 degrees C.
- When the oven is hot, you’re ready to go! Use oven mitts to pull the dutch oven out and remove the lid.
- Tip your bread dough gently out of the bowl back onto your floured workspace and then place it (seam side up this time) into the hot dutch oven. BE CAREFUL, DON’T BURN YOURSELF!
- Put the dutch oven lid back on the pot, and put back into your hot oven.
- Bake the bread for 30 minutes.
- After 30 minutes, remove the lid from your dutch oven. The bread should be crusty and lightly browned. But bake it for about 10-20 minutes more until the bread crust gets even more browner.
- When bread is done, pull the pot out of your oven. Lift the bread out of the dutch oven and onto a cooling rack. Let cool for at least 20 minutes before cutting it.
[youtube https://www.youtube.com/watch?v=1_XVOCyZ9i0&w=560&h=315]
ENJOY YOUR DELICIOUS AND BEAUTIFUL HOMEMADE BREAD!! :)
x Jen
INSTAGRAM:
@JENNIFERBERGP & @JENSDELISIOUSLIFE
For all my recipes, visit https://jensdeliciouslife.com/